
 |  |
Serves 4
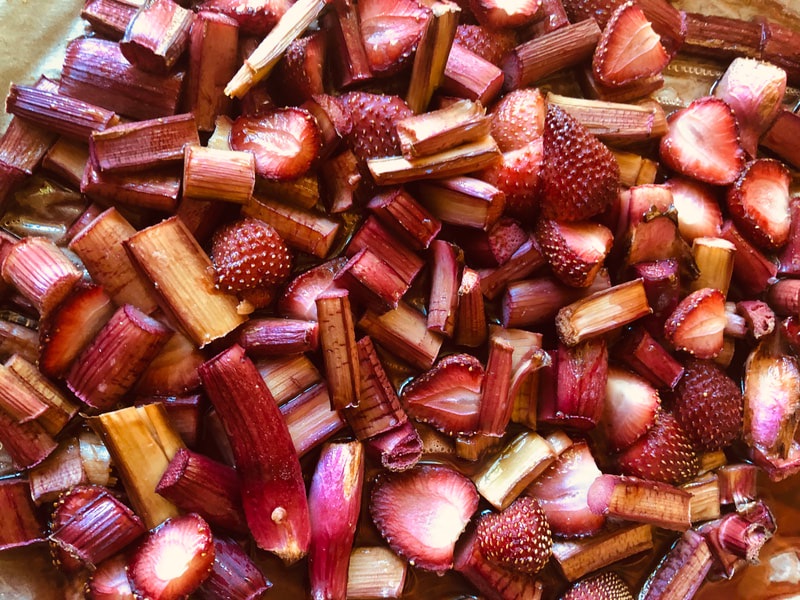
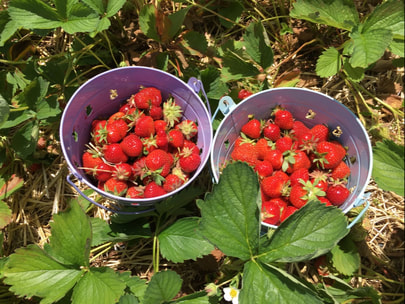
2 cups hulled strawberries, cut in half
2 cups dark purple grapes
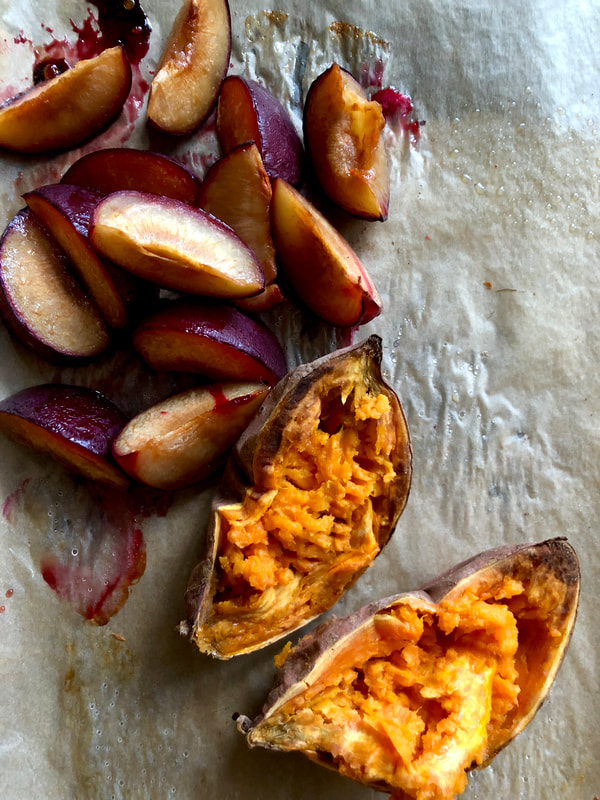
1 dark purple plum, cut into 8 wedges
1 small orange, cut into 4 wedges
¼ cup butter, melted
¼ cup honey
1/4 teaspoon kosher or sea salt
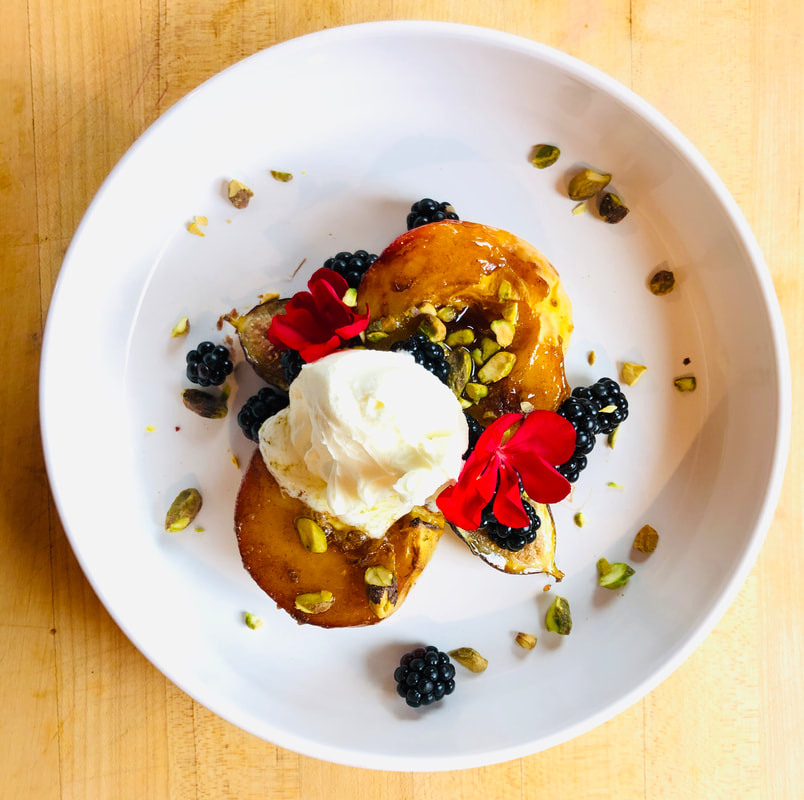
¼ cup pistachios, roughly chopped
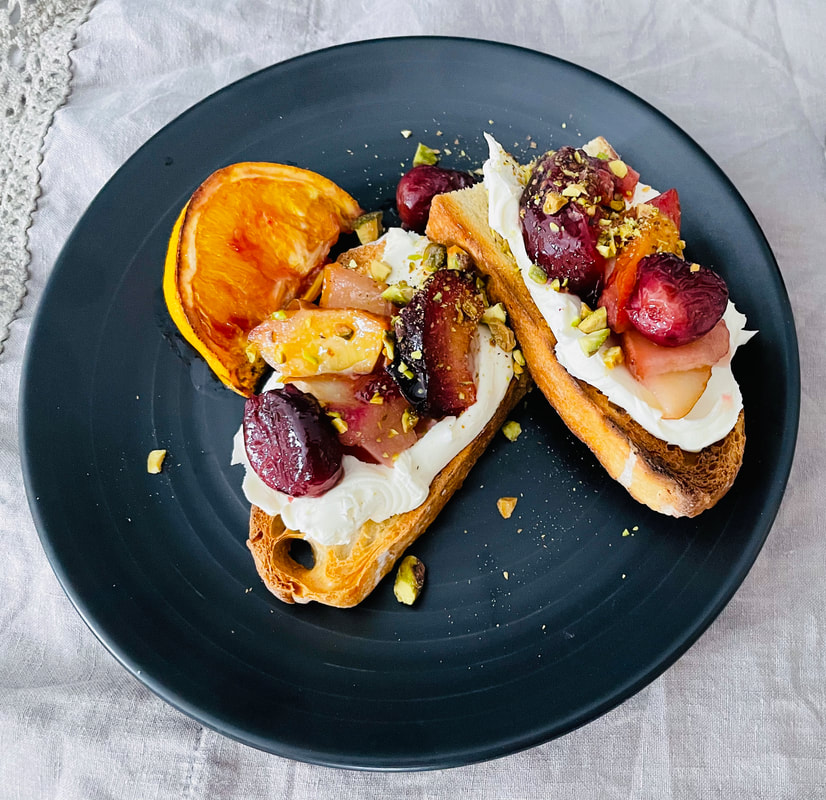
Four slices of artisan bread, cut in half and toasted
1 cup mascarpone cheese
Other fruit combination:
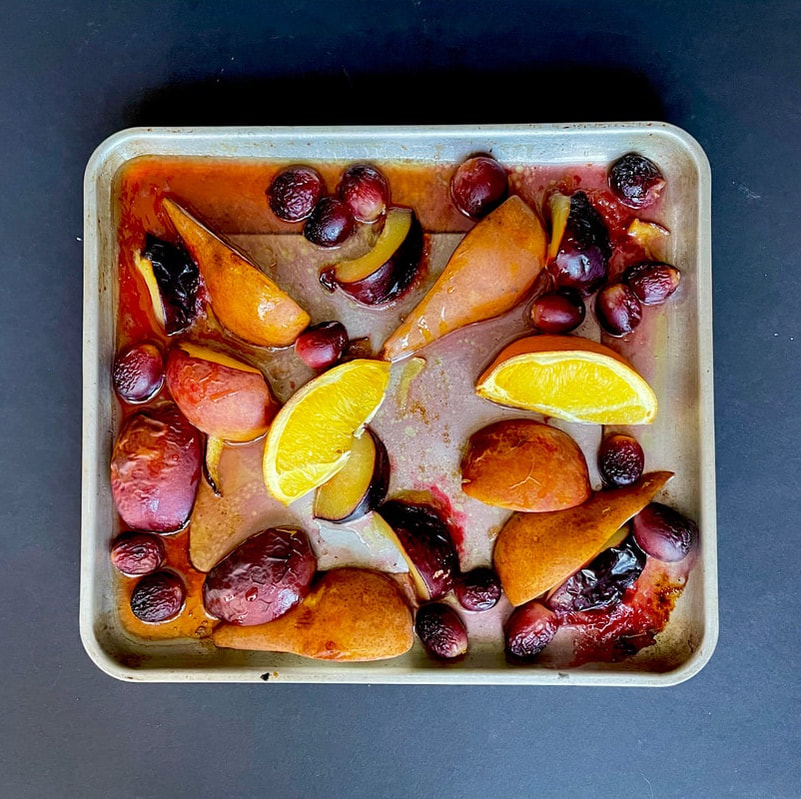
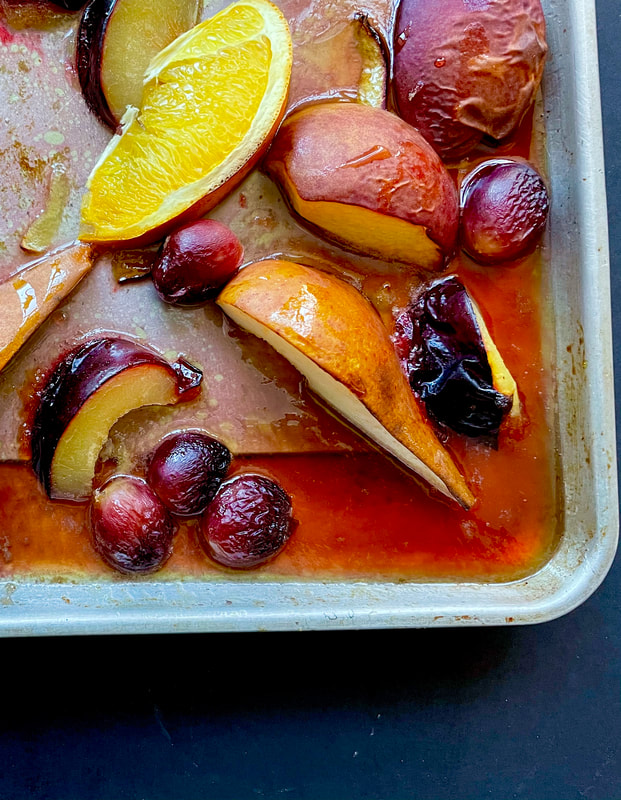
Black plums, pears, peaches, black grapes
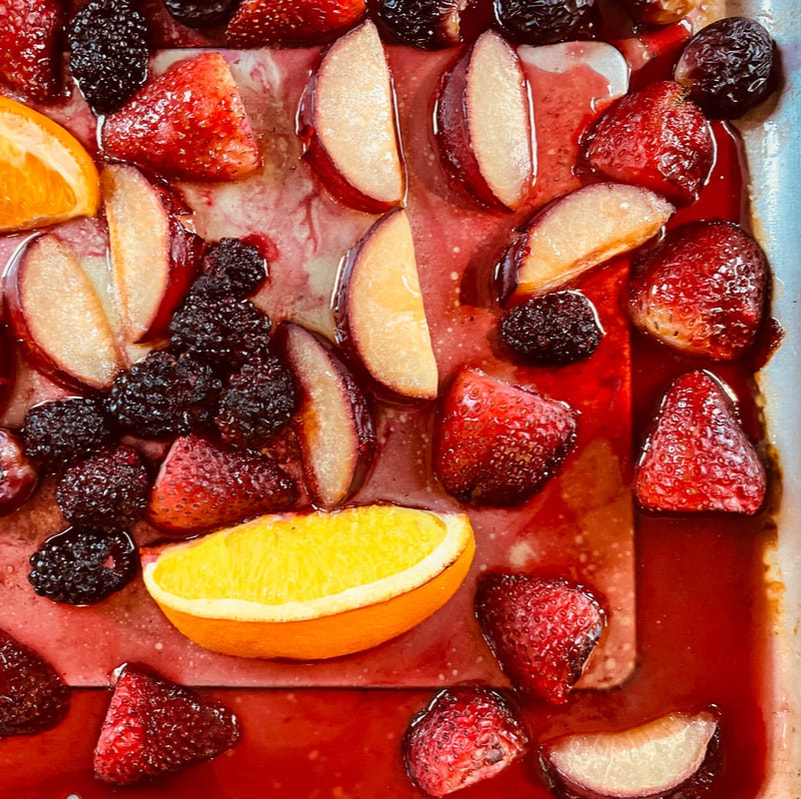
Peaches, strawberries, blackberries
Pineapple, banana, strawberries
Figs, peaches, grapes
2 cups hulled strawberries, cut in half
2 cups dark purple grapes
1 dark purple plum, cut into 8 wedges
1 small orange, cut into 4 wedges
¼ cup butter, melted
¼ cup honey
1/4 teaspoon kosher or sea salt
¼ cup pistachios, roughly chopped
Four slices of artisan bread, cut in half and toasted
1 cup mascarpone cheese
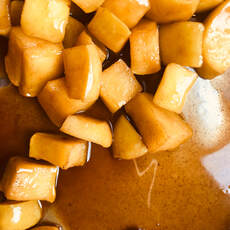
- Preheat oven to 425 degrees with a rack positioned in the middle of the oven.
- Spread the fruit out on the baking pan in a single layer, drizzle the butter and the honey over the fruit. Sprinkle with salt. Place the pan into the oven.
- Roast the fruit for about 15-20 minutes, the fruit should soften and the juices should mingle with the butter and honey on the bottom of the pan. Remove the pan from the oven and cover to keep warm.
- Spread each piece of toasted bread with mascarpone cheese. Leave a depression in down the middle of the cheese. Spoon the roasted fruit onto the center of the cheese. Squeeze the orange onto the fruit. Sprinkle with pistachios. Serve warm.
Other fruit combination:
Black plums, pears, peaches, black grapes
Peaches, strawberries, blackberries
Pineapple, banana, strawberries
Figs, peaches, grapes


 RSS Feed