
Makes one 9X13 or 9X9 pan to serve 8
*8 large assorted apples (see apple note below) cored and cut into slices-yes, leave the peels on!1 large, sweet potato, peeled and cut into 1-inch cubes1/3 cup sugar2 tablespoons all-purpose flour2 tablespoons apple cider vinegar or lemon juice
Crisp Topping1 ½ cups oats (old fashioned)
1/3 cup all-purpose flour or ground flaxseed
1 teaspoon cinnamon
3/4 cup brown sugar-light or dark
¼ cup sugar
½ cup (1 stick) unsalted butter, cut into small cubes
Sweetened Sour Cream Topping
16 oz Sour Cream (full fat)
2-3 tablespoons sugar
1 teaspoon vanilla extract (I like Everland vanilla and buy it at HomeGoods. You can also purchase online)
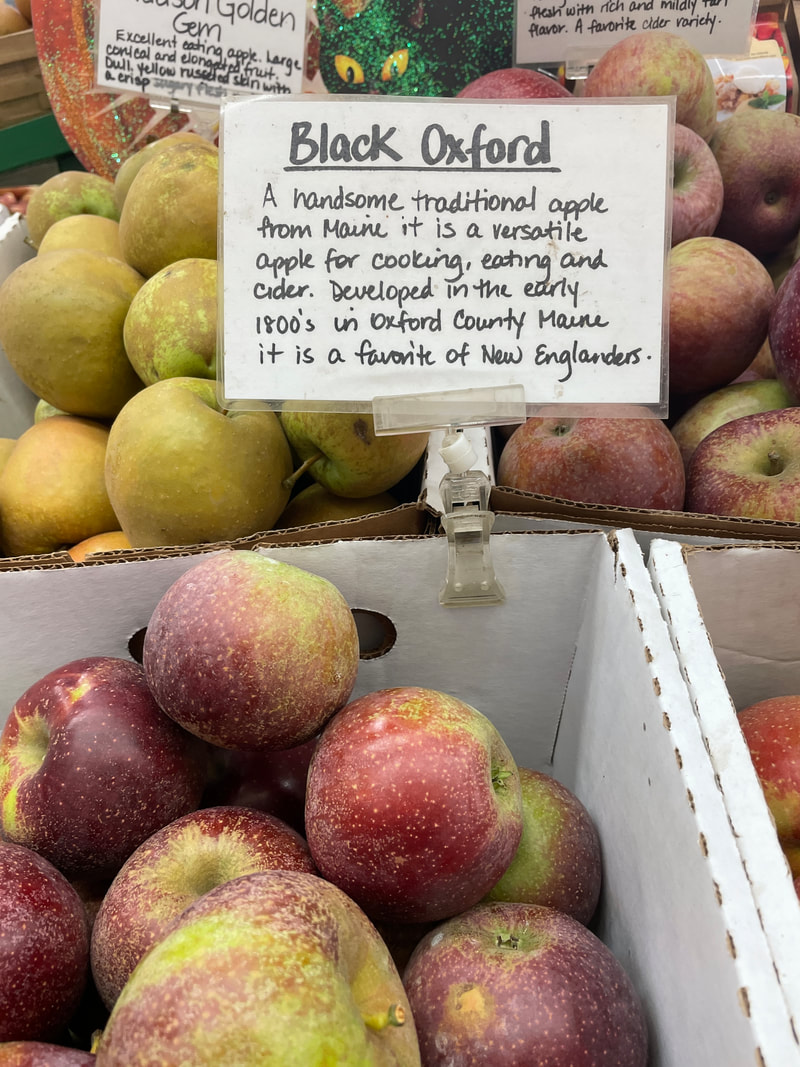
* Apple combinations: Texture is an important part of a tasty apple crisp experience. Combine apples that are both crisp and soft when cooked. Honey Crisp/Cortland, Granny Smith/Macintosh, Spartan/Cortland. You can add or substitute other like fresh or frozen blueberries, cranberries, and rhubarb.
*8 large assorted apples (see apple note below) cored and cut into slices-yes, leave the peels on!1 large, sweet potato, peeled and cut into 1-inch cubes1/3 cup sugar2 tablespoons all-purpose flour2 tablespoons apple cider vinegar or lemon juice
Crisp Topping1 ½ cups oats (old fashioned)
1/3 cup all-purpose flour or ground flaxseed
1 teaspoon cinnamon
3/4 cup brown sugar-light or dark
¼ cup sugar
½ cup (1 stick) unsalted butter, cut into small cubes
Sweetened Sour Cream Topping
16 oz Sour Cream (full fat)
2-3 tablespoons sugar
1 teaspoon vanilla extract (I like Everland vanilla and buy it at HomeGoods. You can also purchase online)
- Preheat the oven to 375˚.
- Place the cubed sweet potato into a saucepan of water. Bring to a simmer and cook potatoes until just tender, about 5-8 minutes. Drain the sweet potatoes.
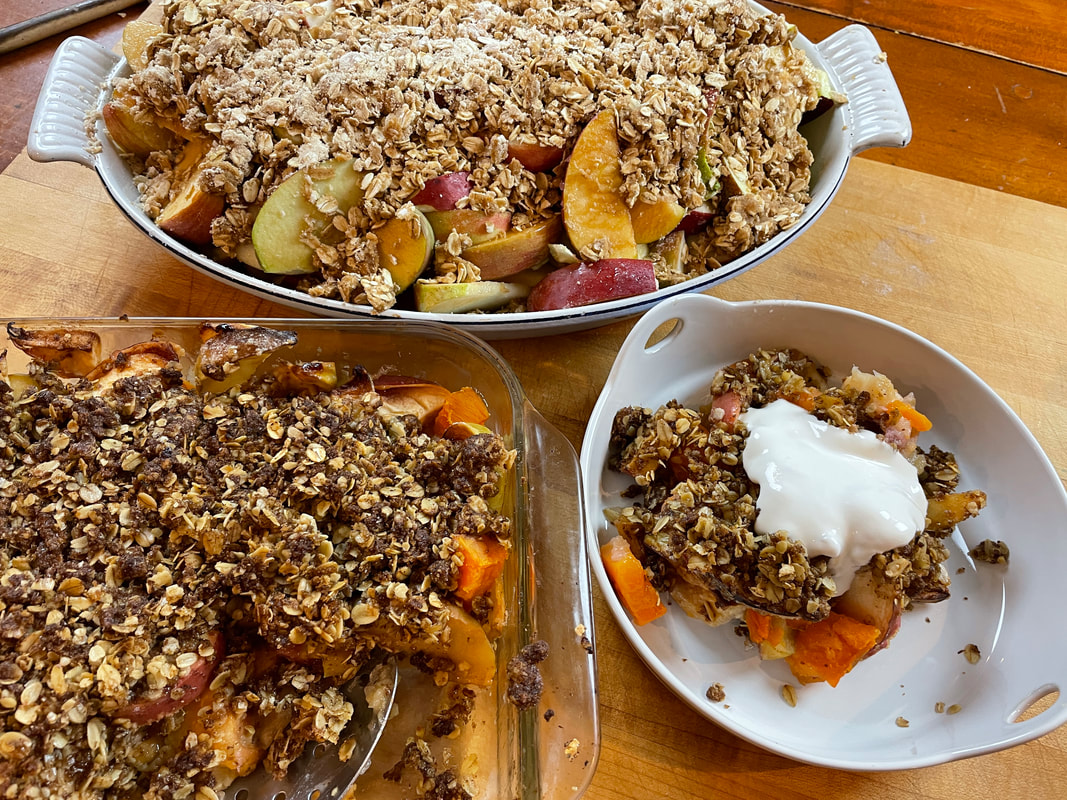
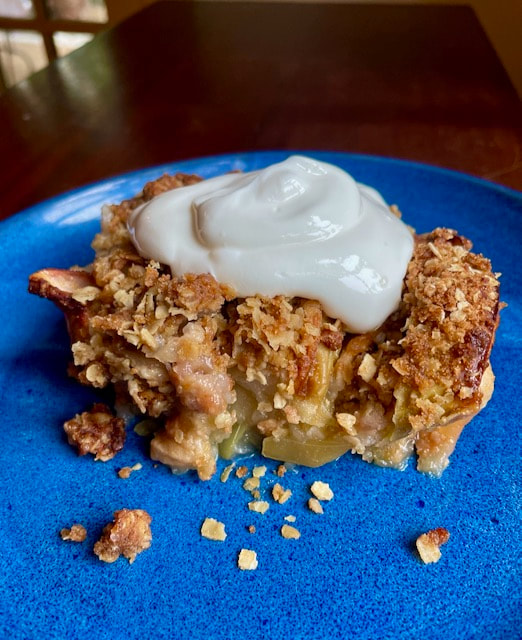
- Toss the sliced apples with the sugar, flour, and apple cider vinegar or lemon juice. Place half of the sliced apples into your pan then place the cooked sweet potatoes to cover evenly. Place the remaining apples over the sweet potatoes.
- In a bowl, combine the oats, flour or flaxseed, cinnamon, and sugars and toss until combined. Using your hands, work in the butter until the mixture comes together in moist crumbs. Spread oat topping evenly over the apples and sweet potatoes.
- Bake in the oven for 45 minutes or until the crumb mixture is golden brown and the filling is bubbling. Let cool for 15 minutes before serving.
- To make the sour cream topping, combine the sour cream, sugar to taste, and vanilla in a bowl and stir to blend. Keep refrigerated until ready to serve.
* Apple combinations: Texture is an important part of a tasty apple crisp experience. Combine apples that are both crisp and soft when cooked. Honey Crisp/Cortland, Granny Smith/Macintosh, Spartan/Cortland. You can add or substitute other like fresh or frozen blueberries, cranberries, and rhubarb.


 RSS Feed