
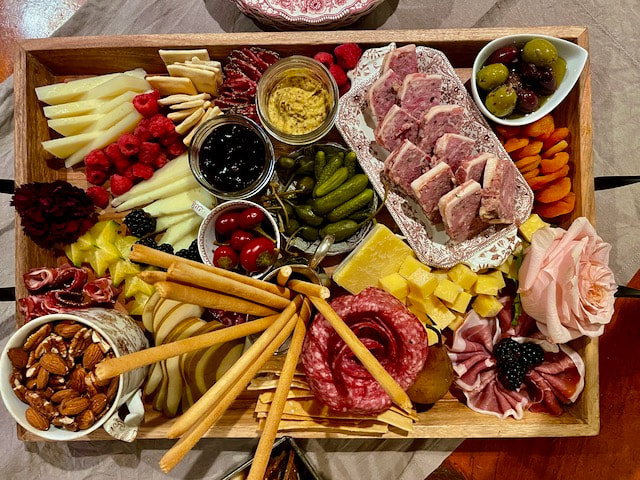

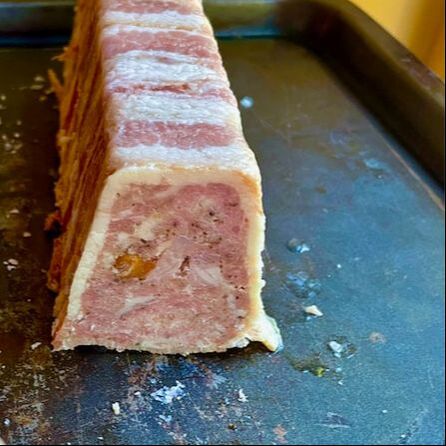
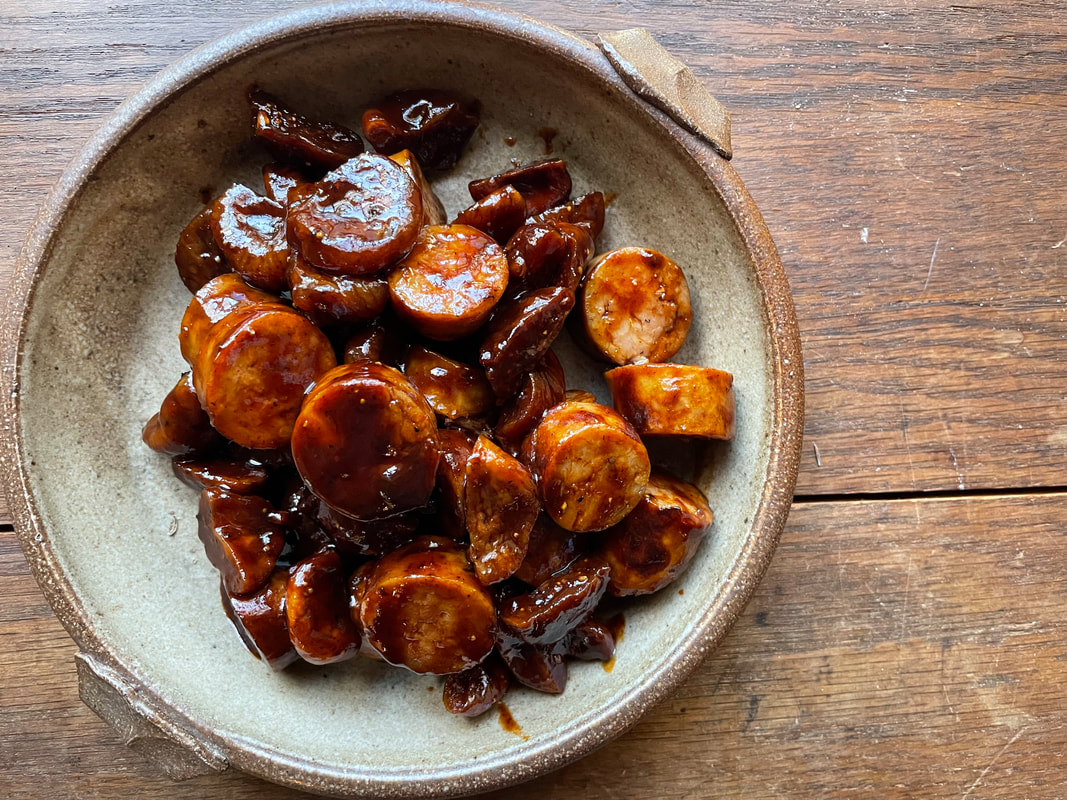
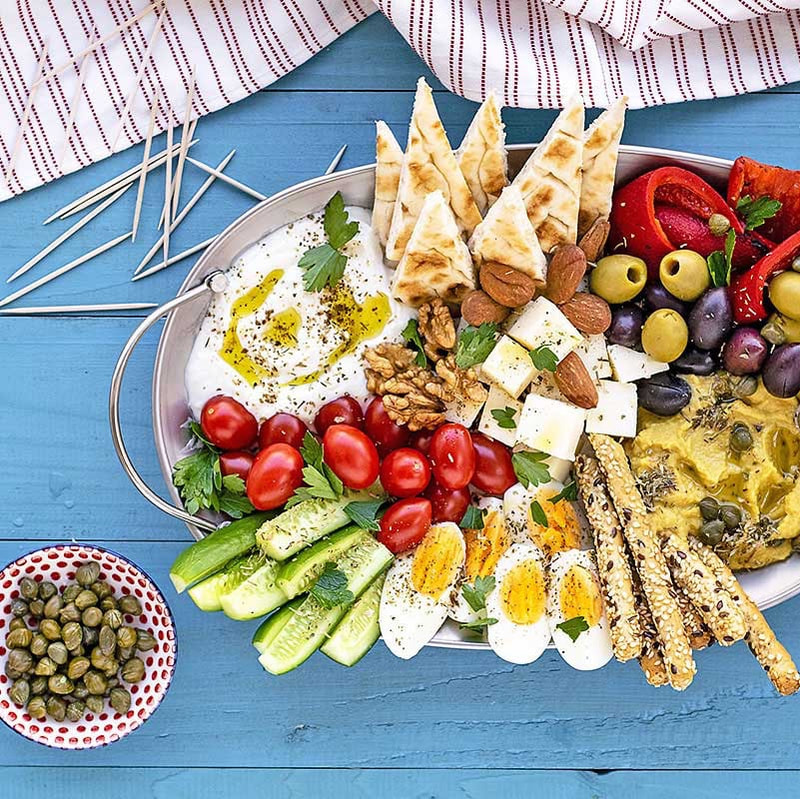
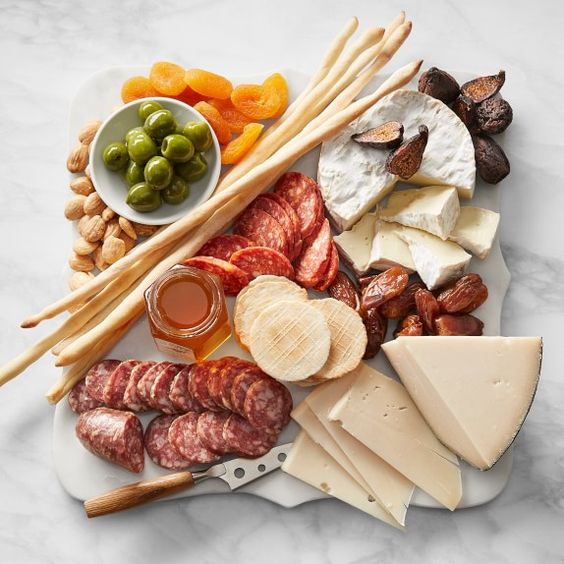
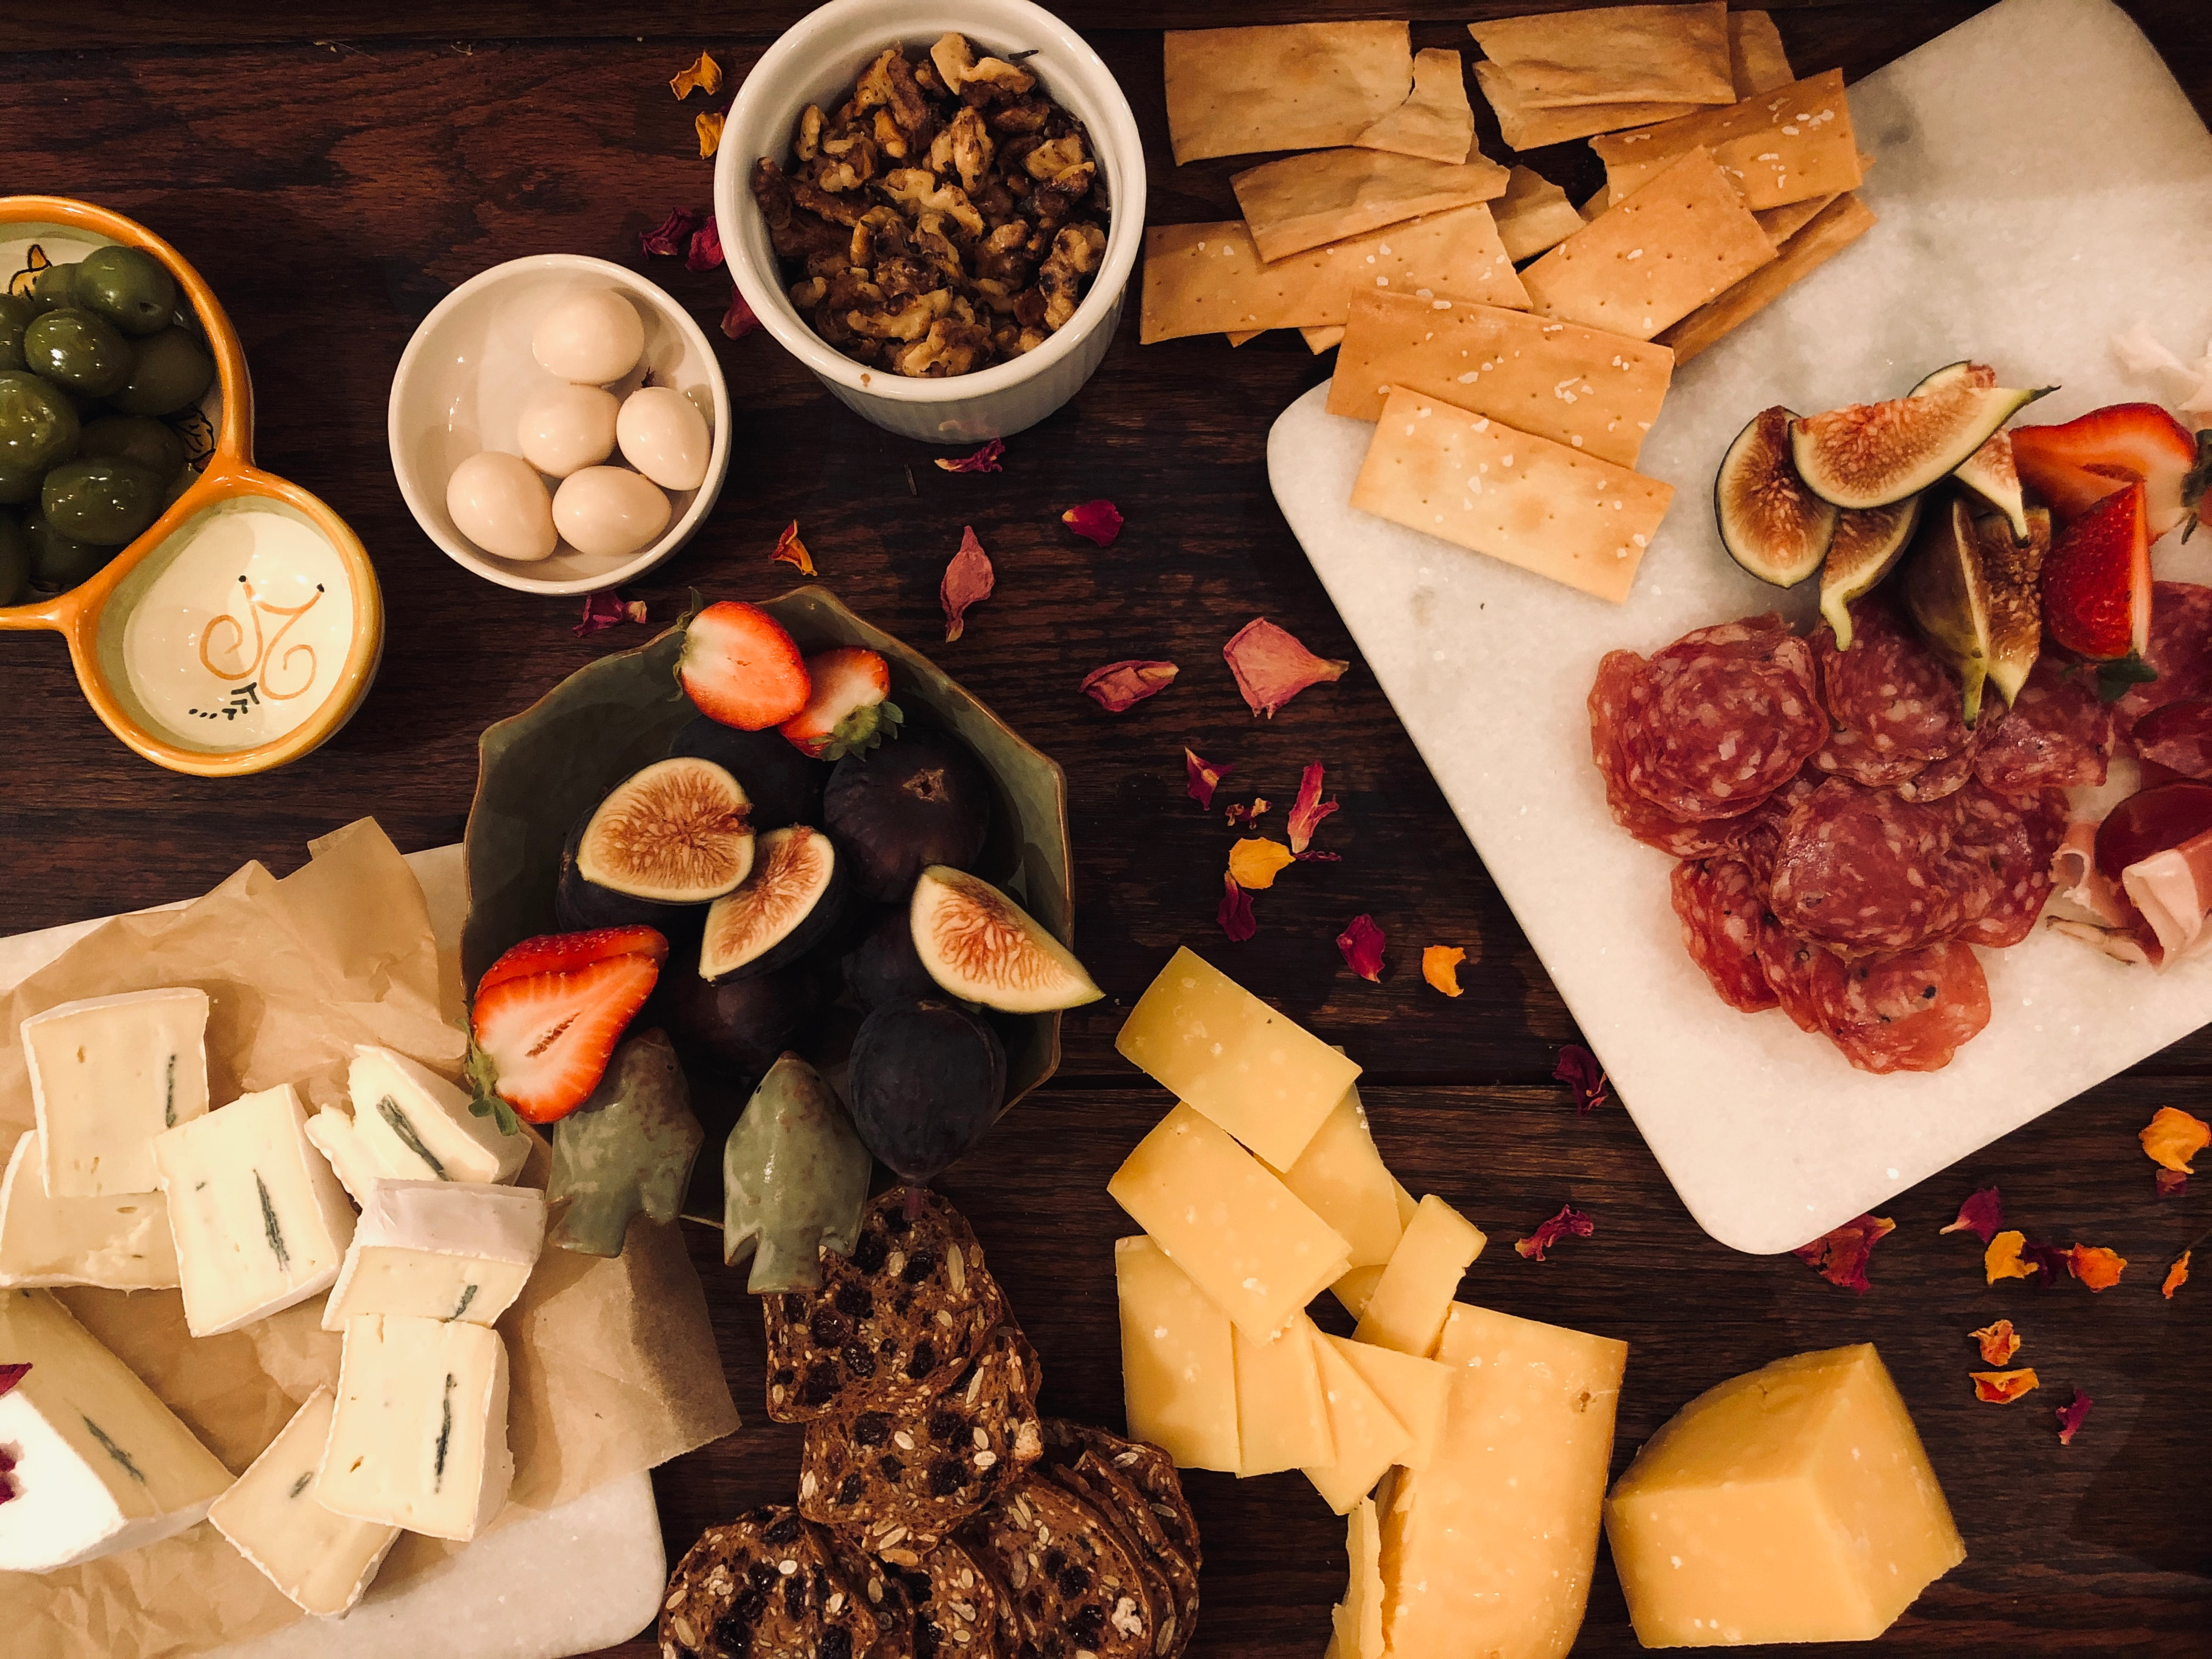
Meat: The charcuterie part of the board. Estimate serving 4-6 slices of meat per person.
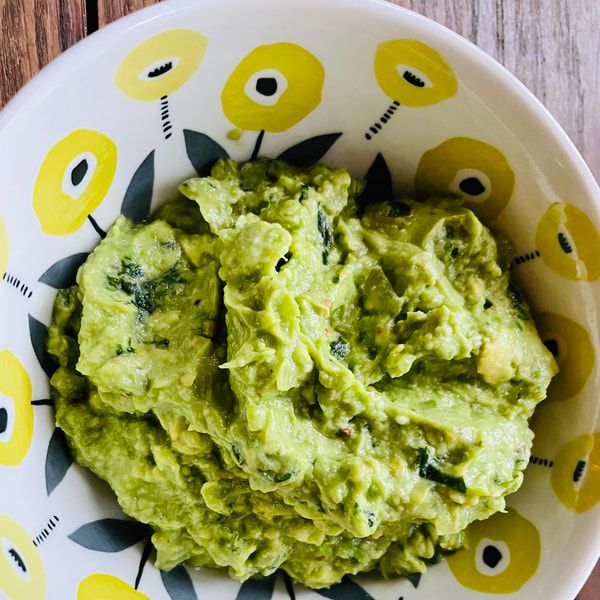
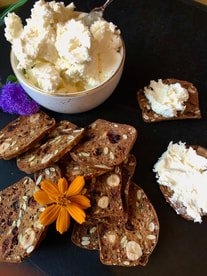
Spreadables:
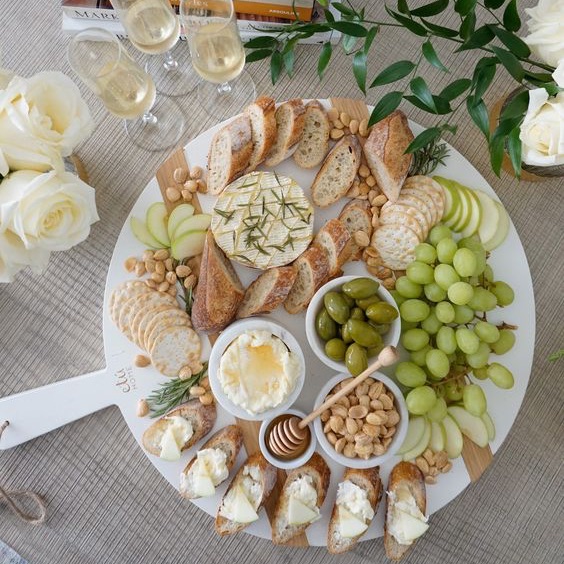
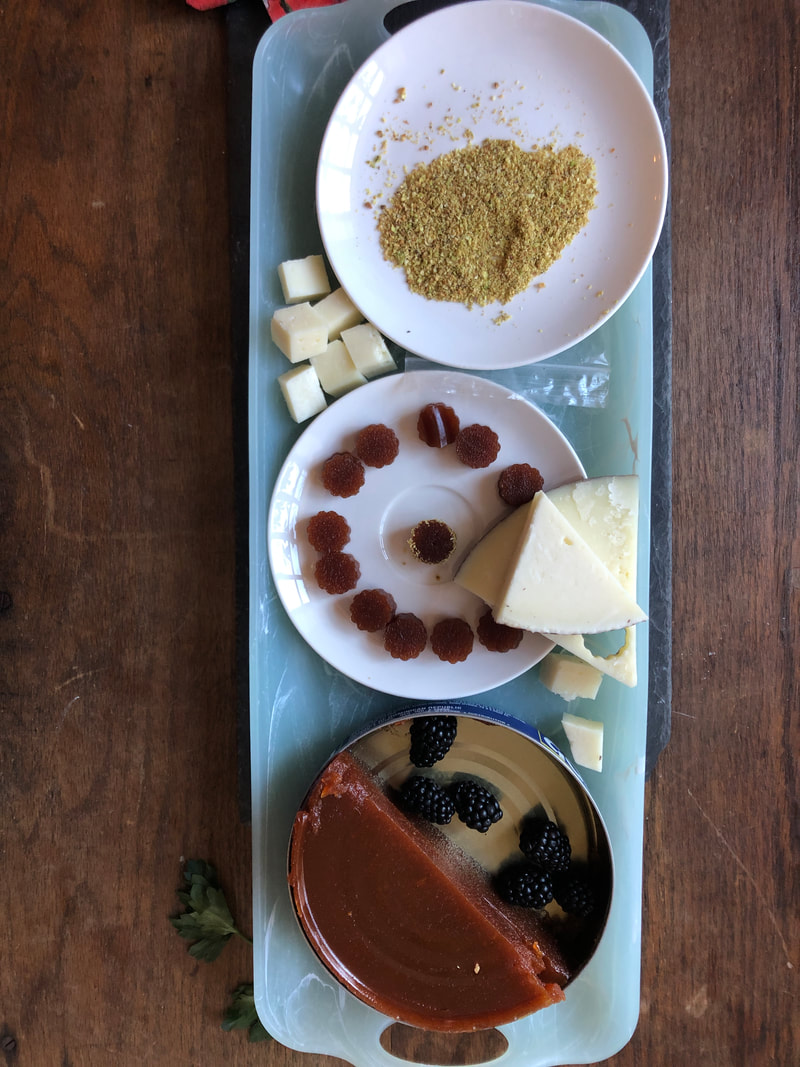
Cheese: With a variety of flavors, textures, and colors. Plan to serve 1-2 ounces of cheese per person.
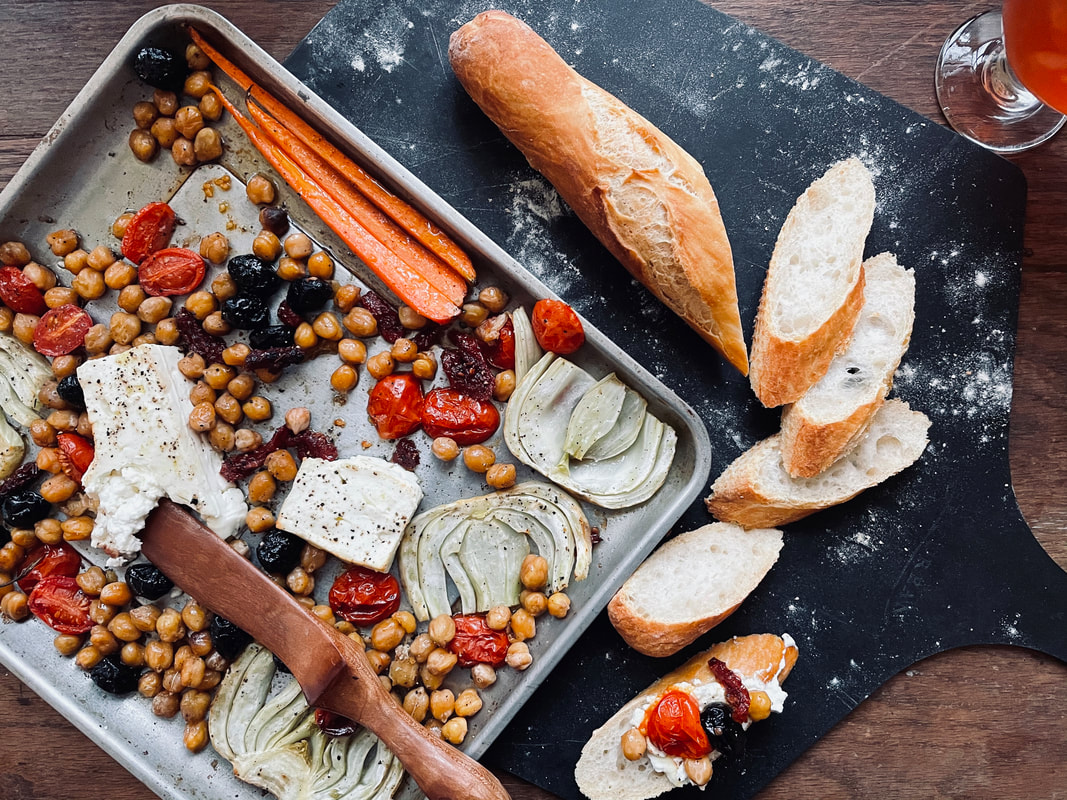
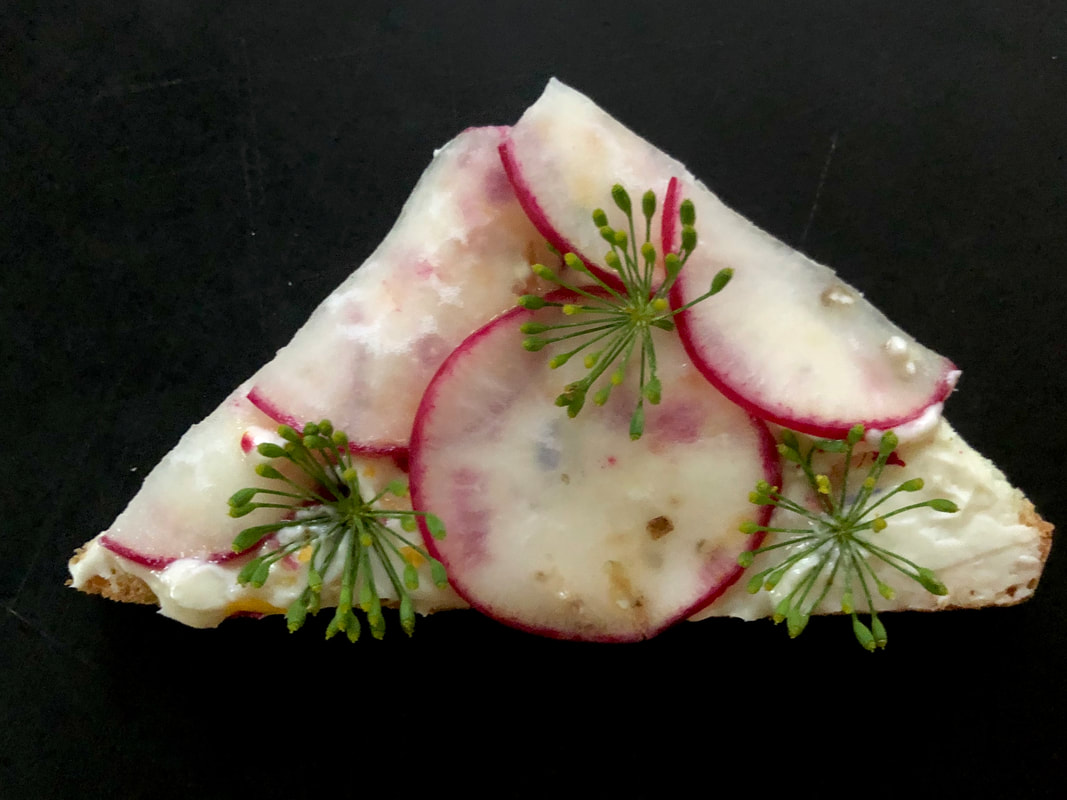
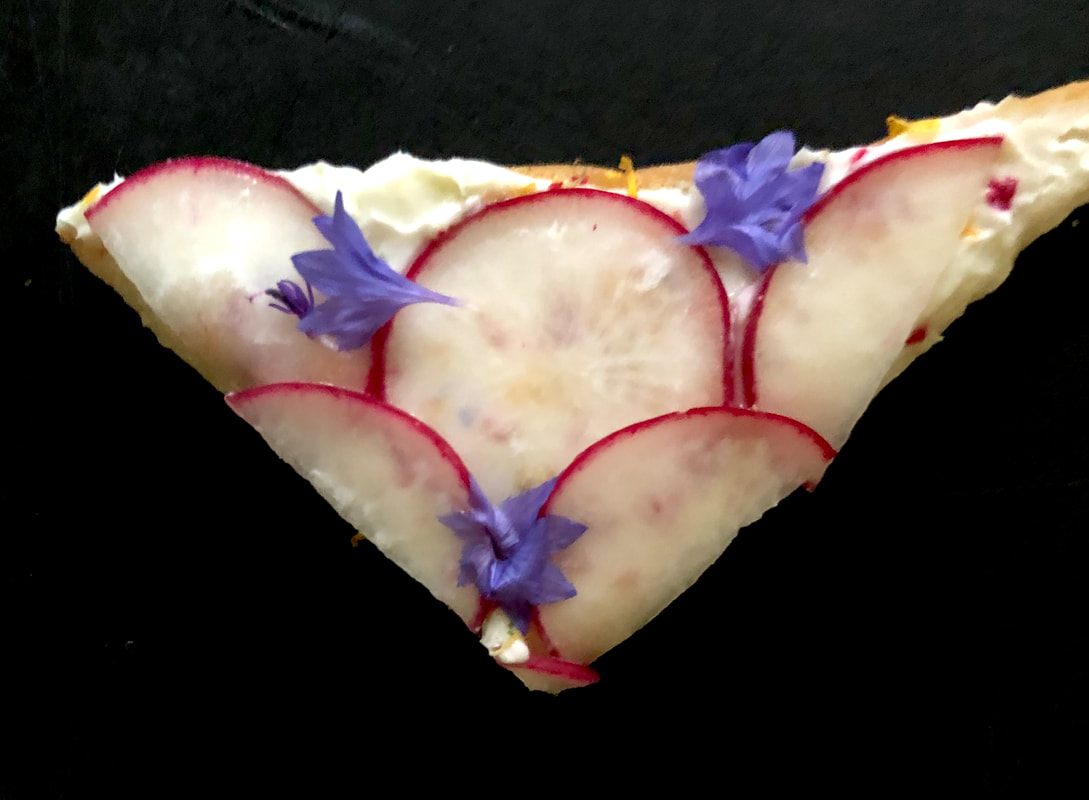
Produce: A mix of fruits and/or veggies. These can be fresh or dried.
Dippers: Variety of crackers, bread sticks, sliced baguette, or mini pita.
Savory: This can be nuts, olives, pickles, etc.
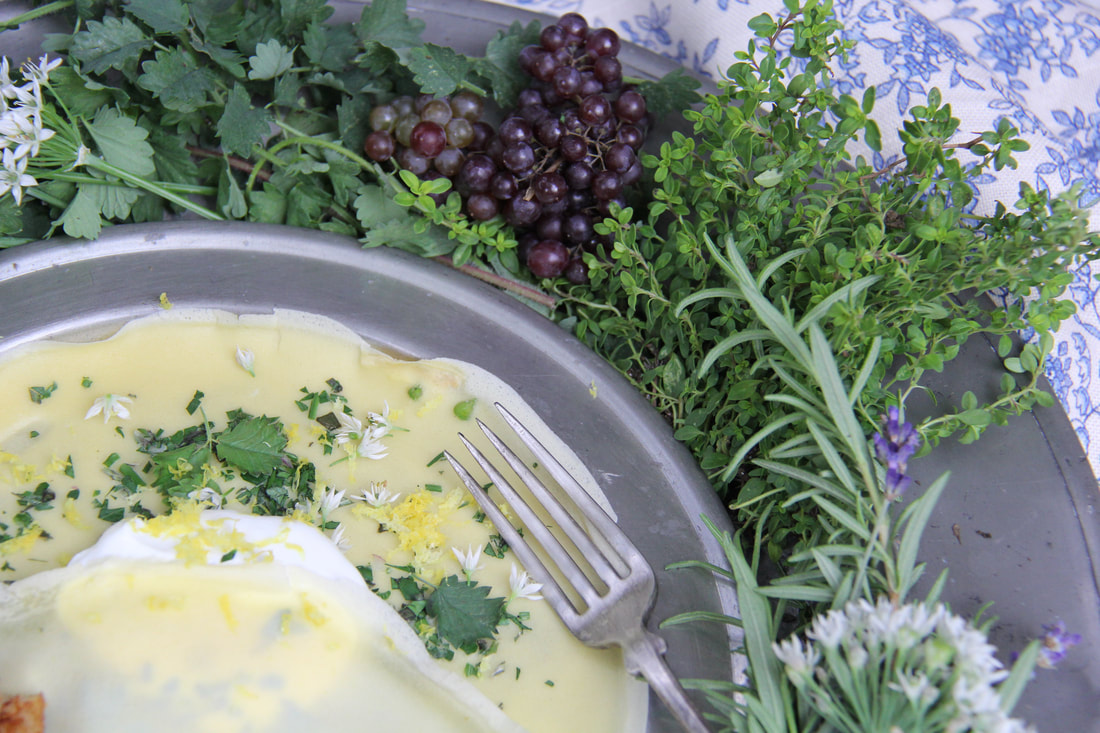
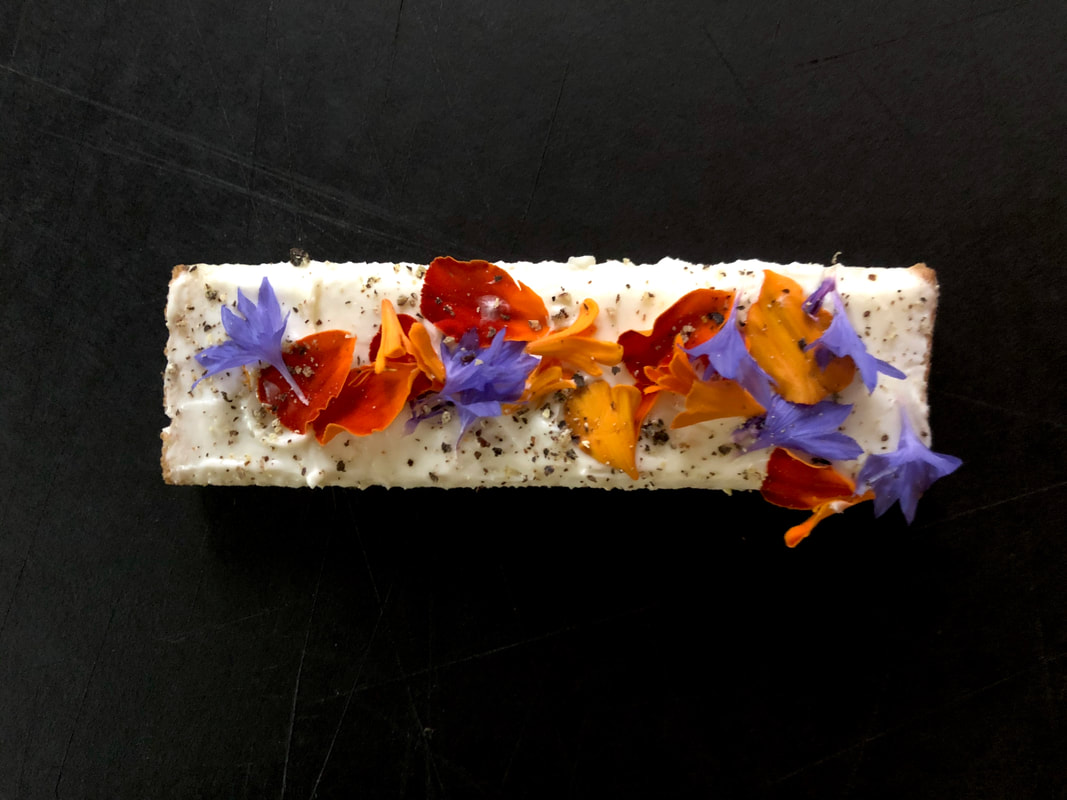
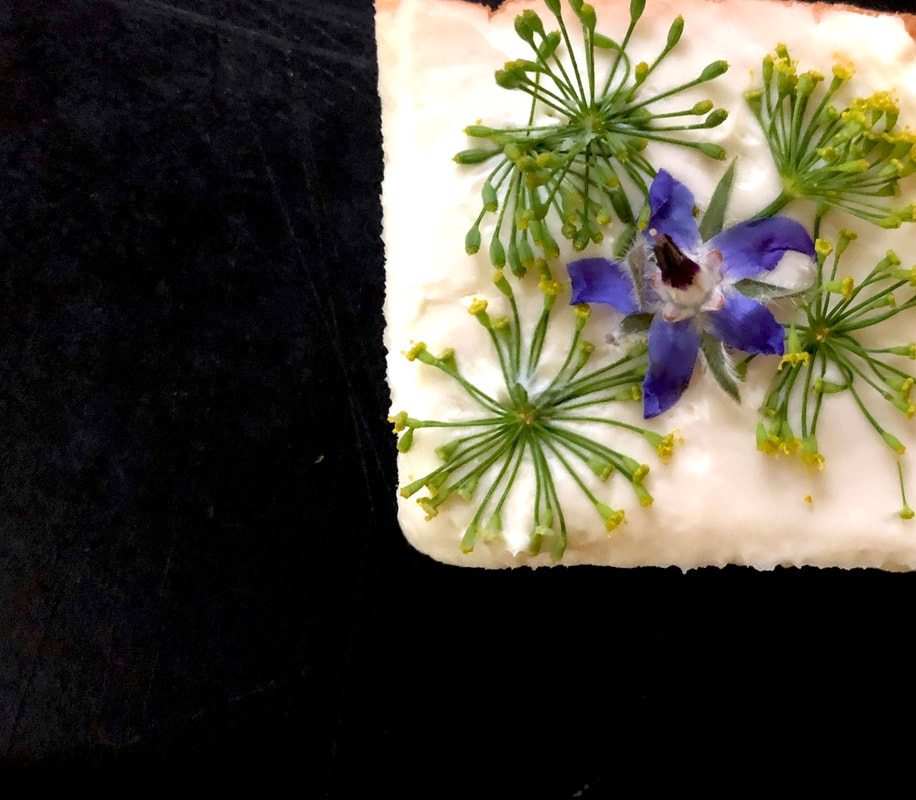
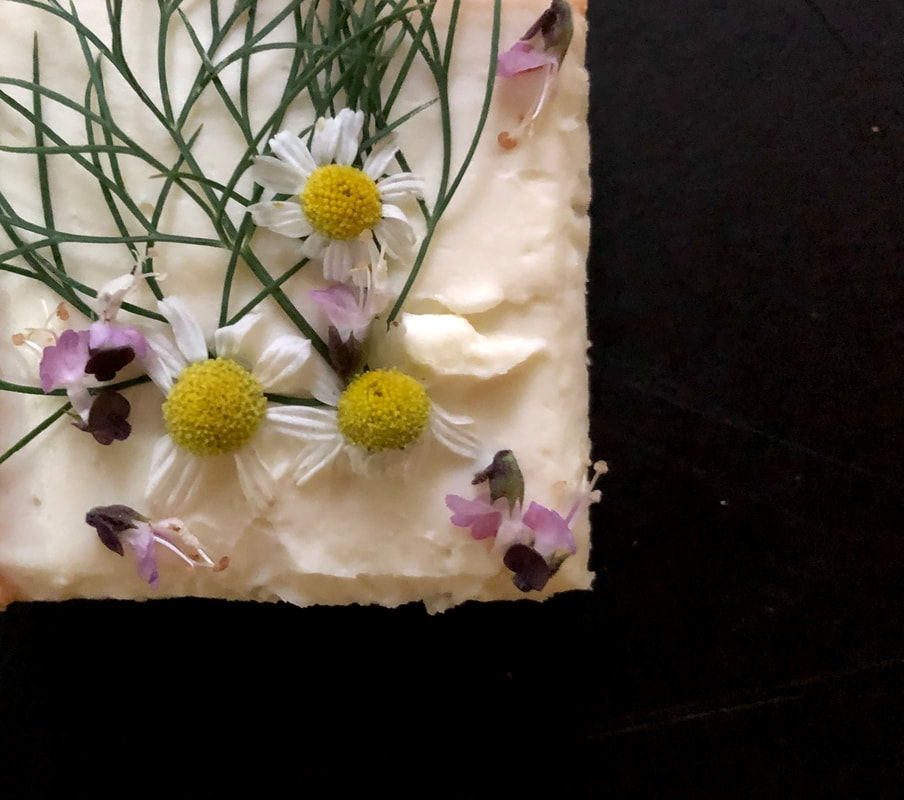
Garnish: Anything from fresh herbs, edible flowers, chunks of chocolate, colorful vegetable chips
- Pate-Country (hard) or mousse (creamy)
- Cured salami
- Prosciutto
- Pre-sliced salami
- Always slice thinly
Spreadables:
- Herb cheese spreads
- Grainy mustards
- Spiced jams
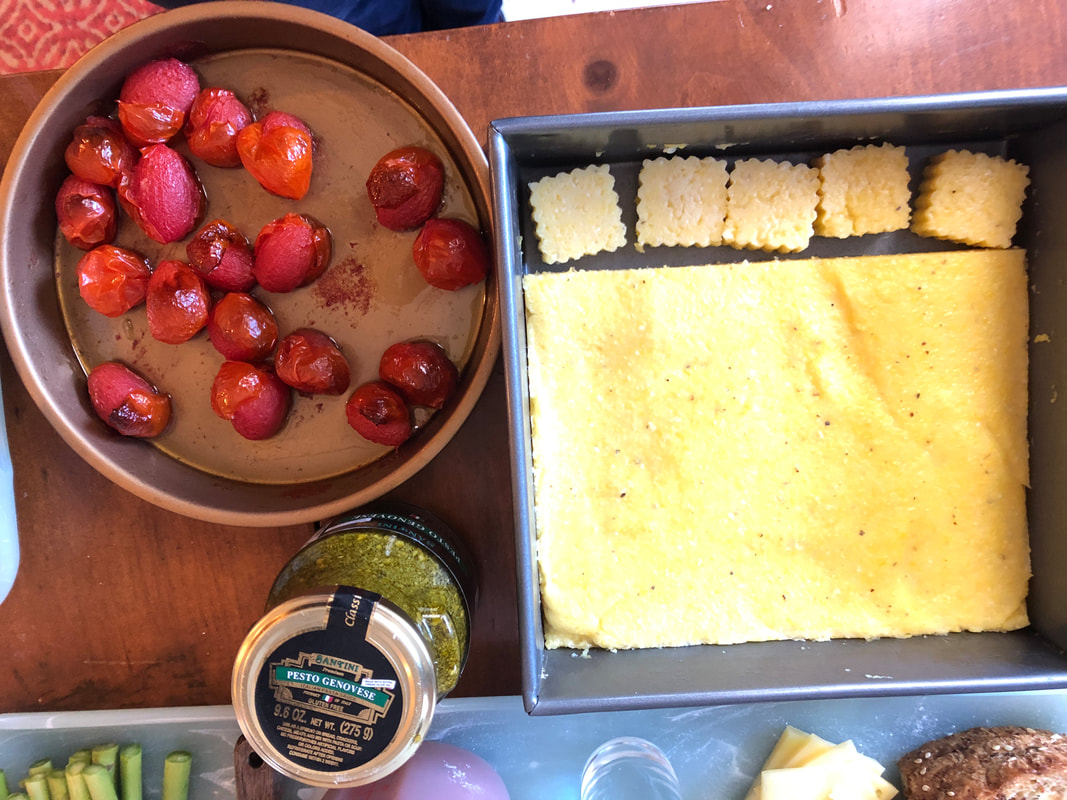
- Pesto
- Vegetable spreads
- Hummus
Cheese: With a variety of flavors, textures, and colors. Plan to serve 1-2 ounces of cheese per person.
- Goat cheese
- Cheddar
- Smoked cheese
- Yellow or orange cheeses
- Wine-soaked cheese
- Herb flavored cheeses
- Cheese spreads
Produce: A mix of fruits and/or veggies. These can be fresh or dried.
- Raspberries, black berries, strawberries
- Dried apricots, pitted dates
- Sliced apples or pears dipped in lemon water
- Star fruit
- Slice cucumber, carrots, celery, fennel
Dippers: Variety of crackers, bread sticks, sliced baguette, or mini pita.
Savory: This can be nuts, olives, pickles, etc.
Garnish: Anything from fresh herbs, edible flowers, chunks of chocolate, colorful vegetable chips


 RSS Feed