
 |  |
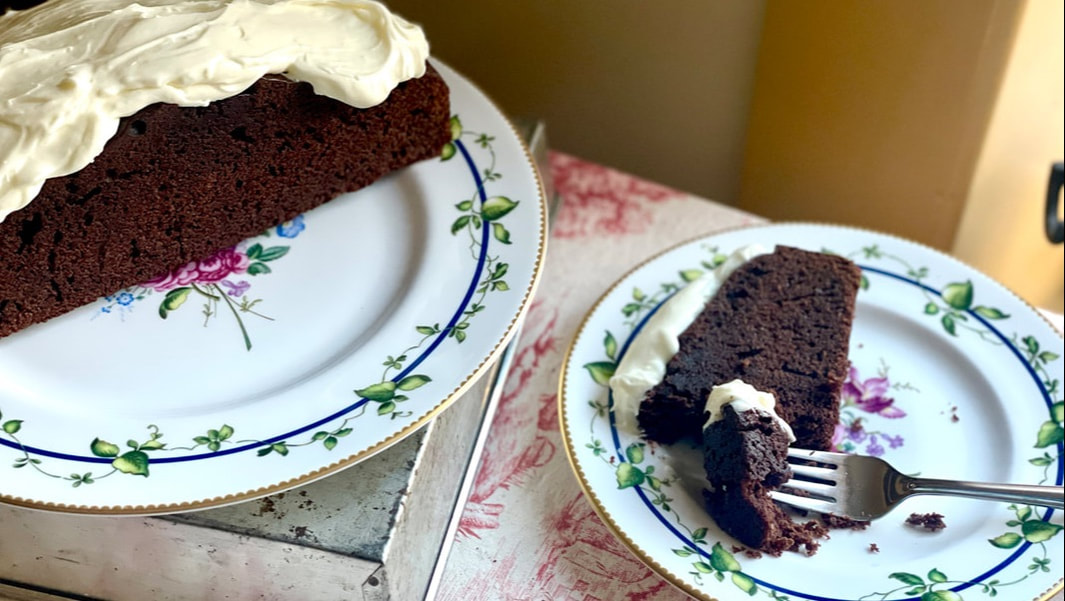
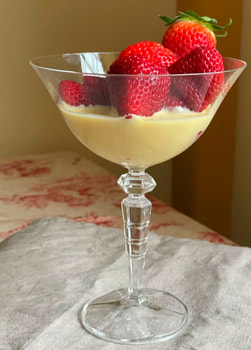
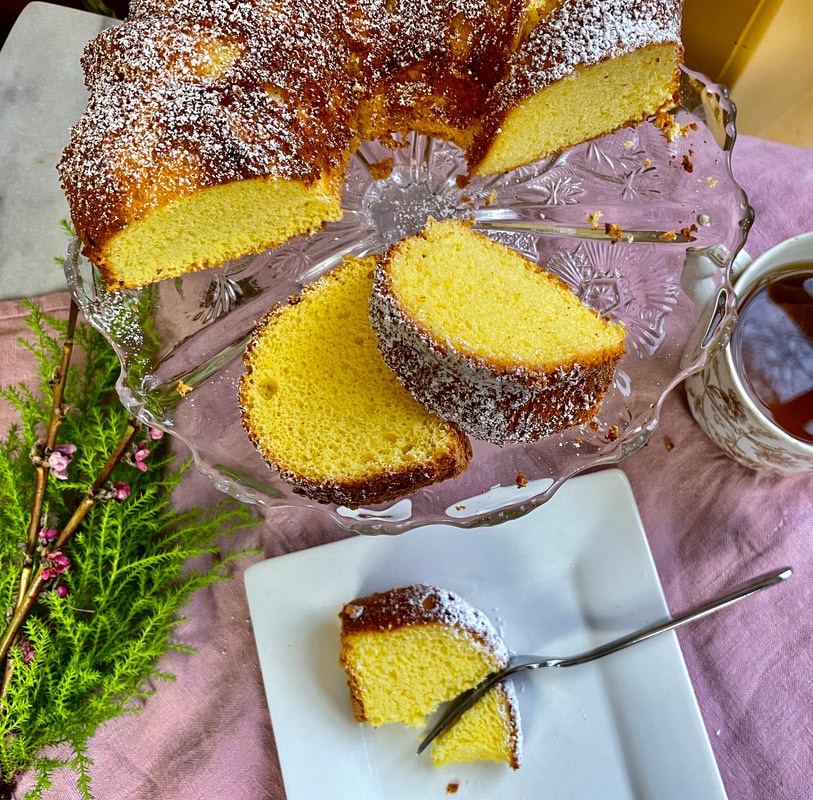
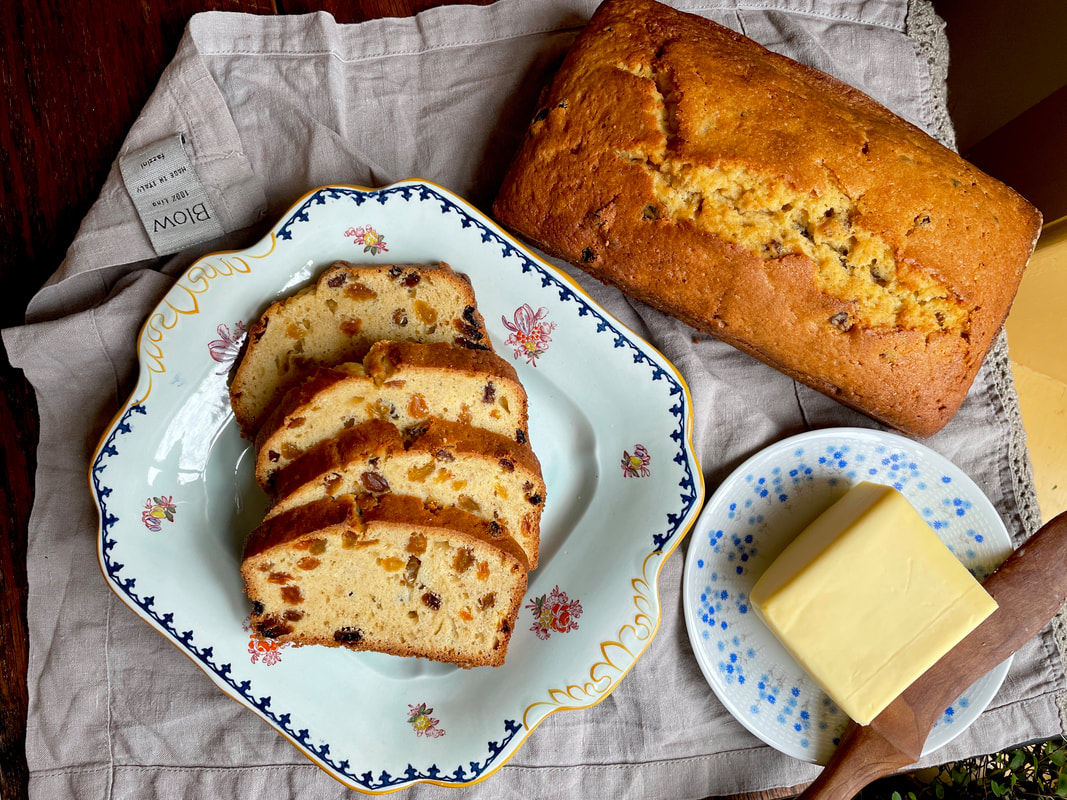
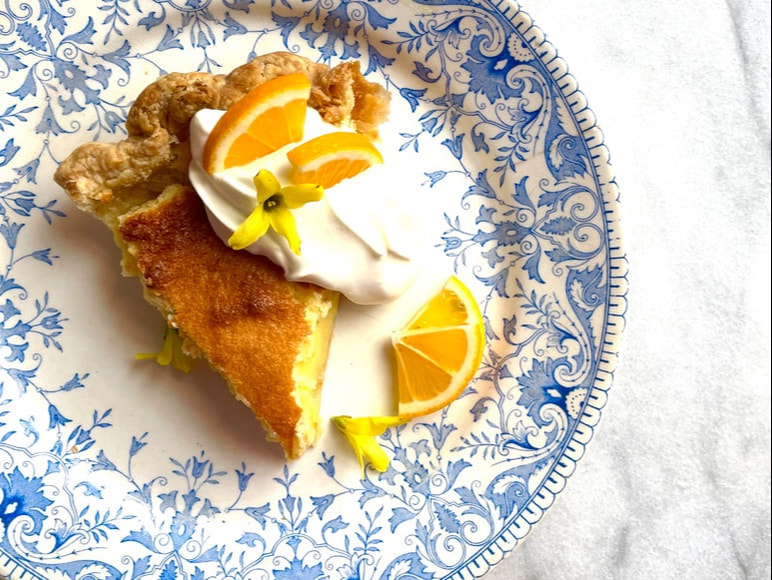
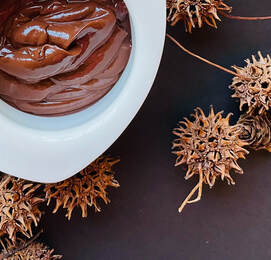
Zabaglione is an Italian custard sauce that can be served cold or warm, either spooned into glasses on its own, or under sliced fruit, or with plain cakes.
Serves 4-6
8 egg yolks
½ cup sugar
1 cup Sweet Marsala wine (dry Marsala or Prosecco can be substituted)
Double boiler
Notes:
The egg yolk mixture increases considerably in volume as you beat it. If your double boiler is not very large, use a large bowl over a pot of water.
Zabaglione is a base for many desserts.
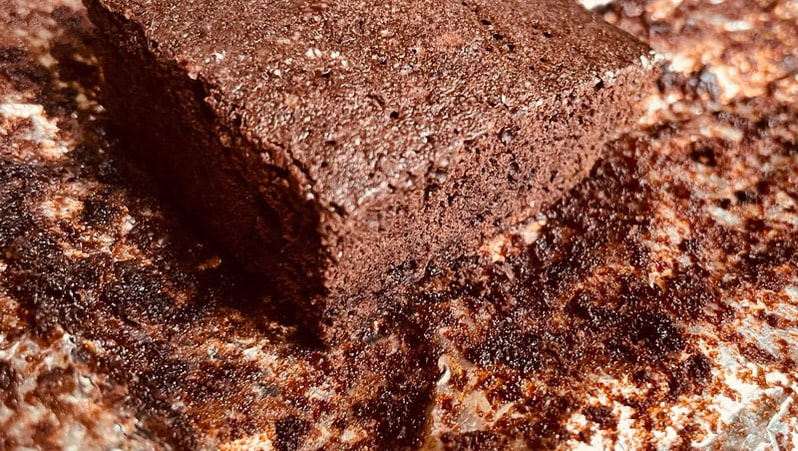
Stracciatella Semifreddo Coat a 9-inch loaf pan with cooking spray and line with plastic wrap. Sprinkle bottom of pan with 1/3 cup toasted sliced almonds. Fold cooled Marsala zabaglione with 3 cups whipped heavy cream and 1/2 cup chocolate shavings. Scrape into loaf pan, cover, and freeze until firm, at least 3 hours. To serve, scoop into an ice cream bowl or invert onto a plate and slice. Serve with sliced berries.
Serves 4-6
8 egg yolks
½ cup sugar
1 cup Sweet Marsala wine (dry Marsala or Prosecco can be substituted)
Double boiler
- Prepare the sauce using a double boiler or saucepan with a medium sized metal mixing bowl placed on top. Fill the base with ½ inch water and place over medium heat.
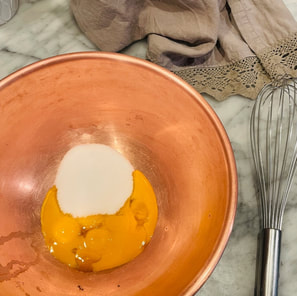
- Put the egg yolk and sugar into the top bowl of the double boiler or metal mixing bowl (off the heat).
- Using a large whisk, whip the egg yolks and sugar for about 3 minutes until the sugar mixture is pale yellow and creamy.
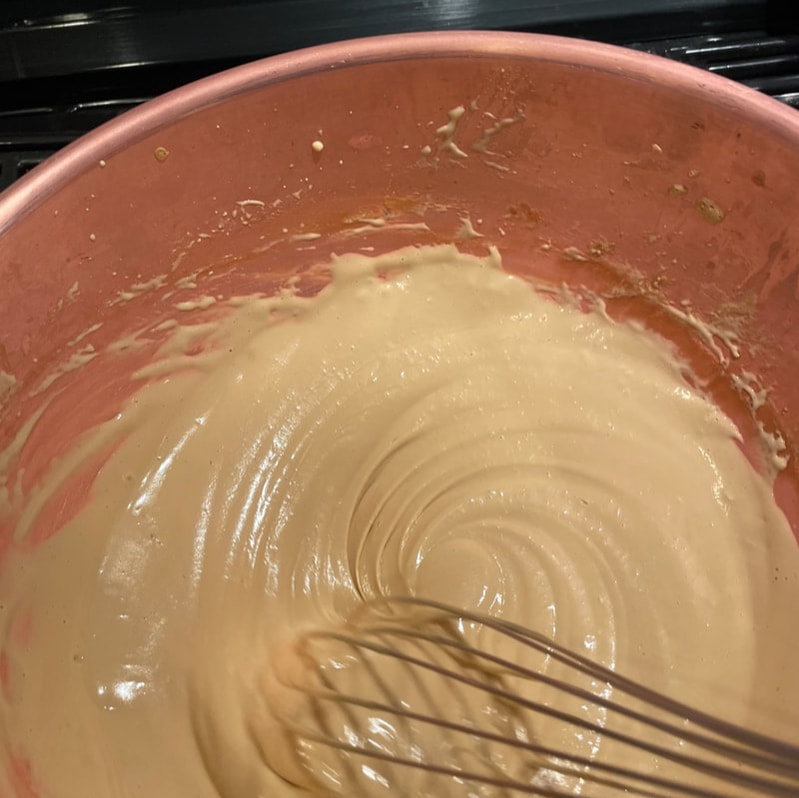
- Pour in the Marsala wine and whisk until the sugar is dissolved.
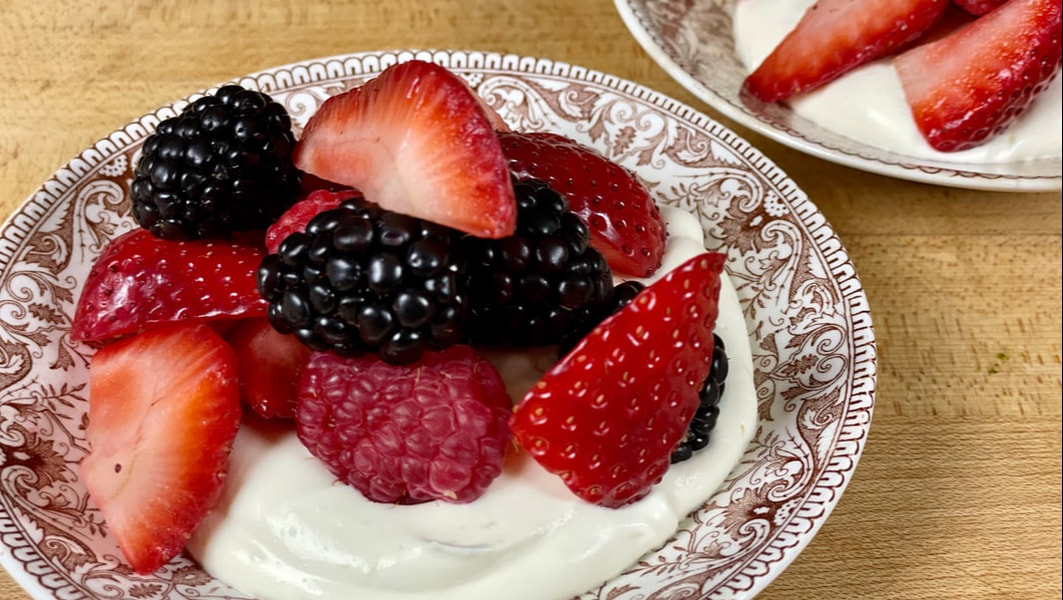
- Heat the mixture over barely simmer water. As you whisk vigorously, the mixture will begin to foam, then swell to triple in volume into a soft mass. Zabaglione is ready when it is light and fluffy and clings to a spoon like loose pudding, about 8 minutes. Remove from the heat and serve warm or chilled alone, with berries, or biscotti.
Notes:
The egg yolk mixture increases considerably in volume as you beat it. If your double boiler is not very large, use a large bowl over a pot of water.
Zabaglione is a base for many desserts.
Stracciatella Semifreddo Coat a 9-inch loaf pan with cooking spray and line with plastic wrap. Sprinkle bottom of pan with 1/3 cup toasted sliced almonds. Fold cooled Marsala zabaglione with 3 cups whipped heavy cream and 1/2 cup chocolate shavings. Scrape into loaf pan, cover, and freeze until firm, at least 3 hours. To serve, scoop into an ice cream bowl or invert onto a plate and slice. Serve with sliced berries.


 RSS Feed