
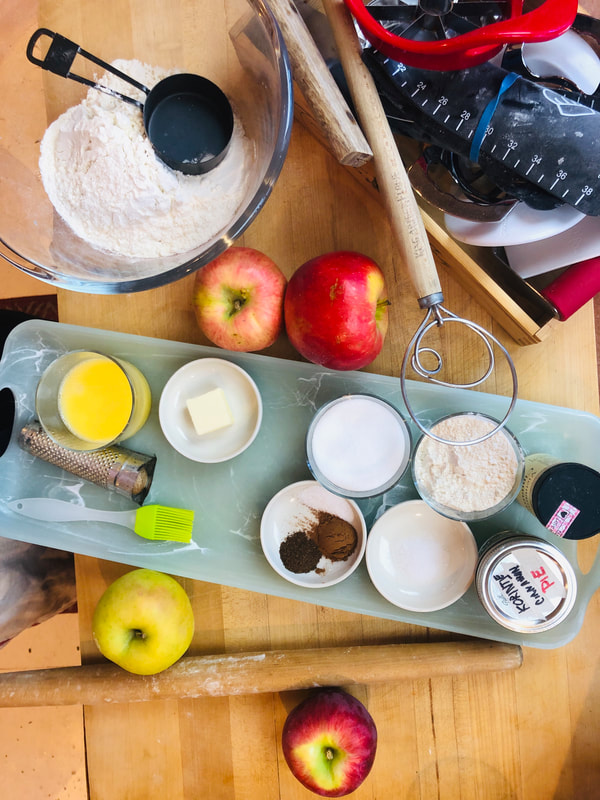
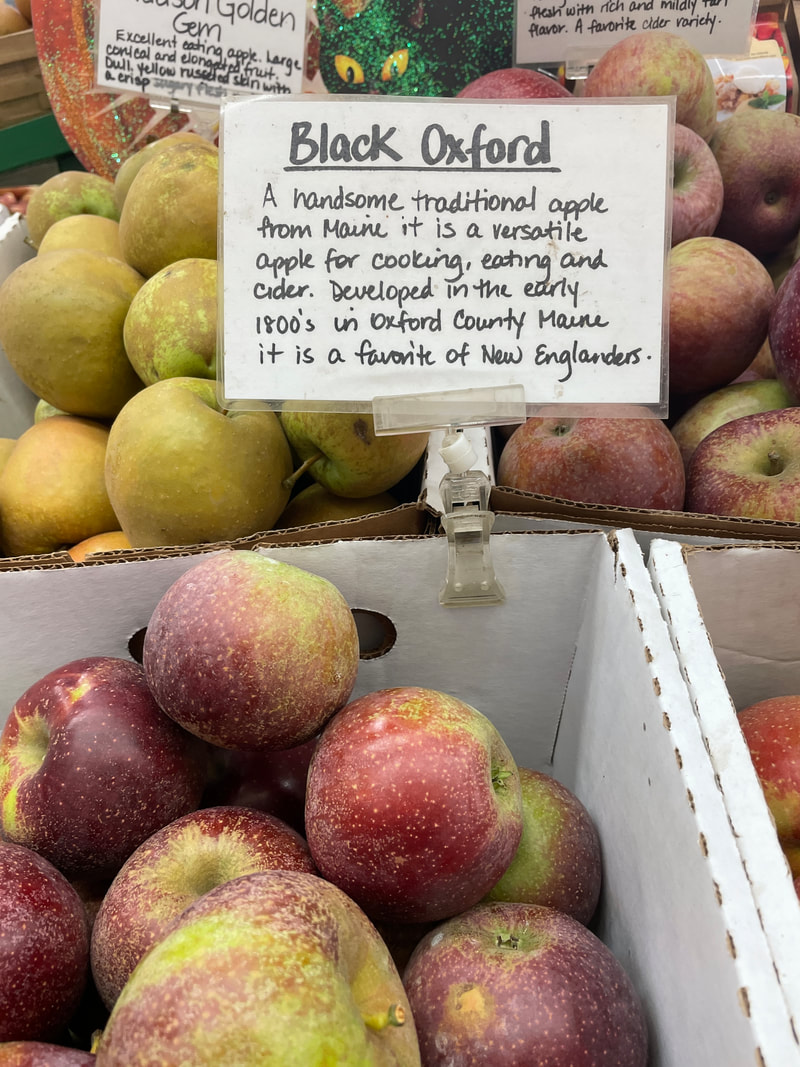
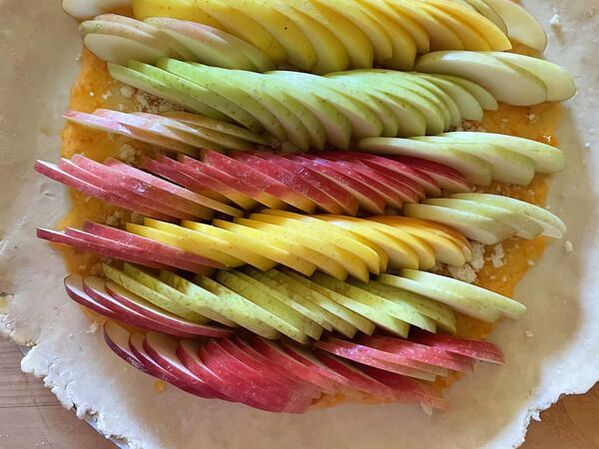
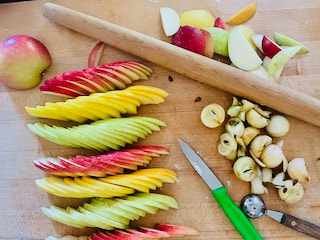
Apples (from Liz): Choose a few types of apples, one that is sweet and one that is a bit tart, one soft, and one that holds its shape. Granny Smith or Honey Crisp are tart, crisp apples that combine well with Cortland. I throw in a Macintosh or two as well. Your local farm stand may have heritage apples you can choose from.
Makes one double crust apple pie using a 9 1/2 inch deep-dish pie pan
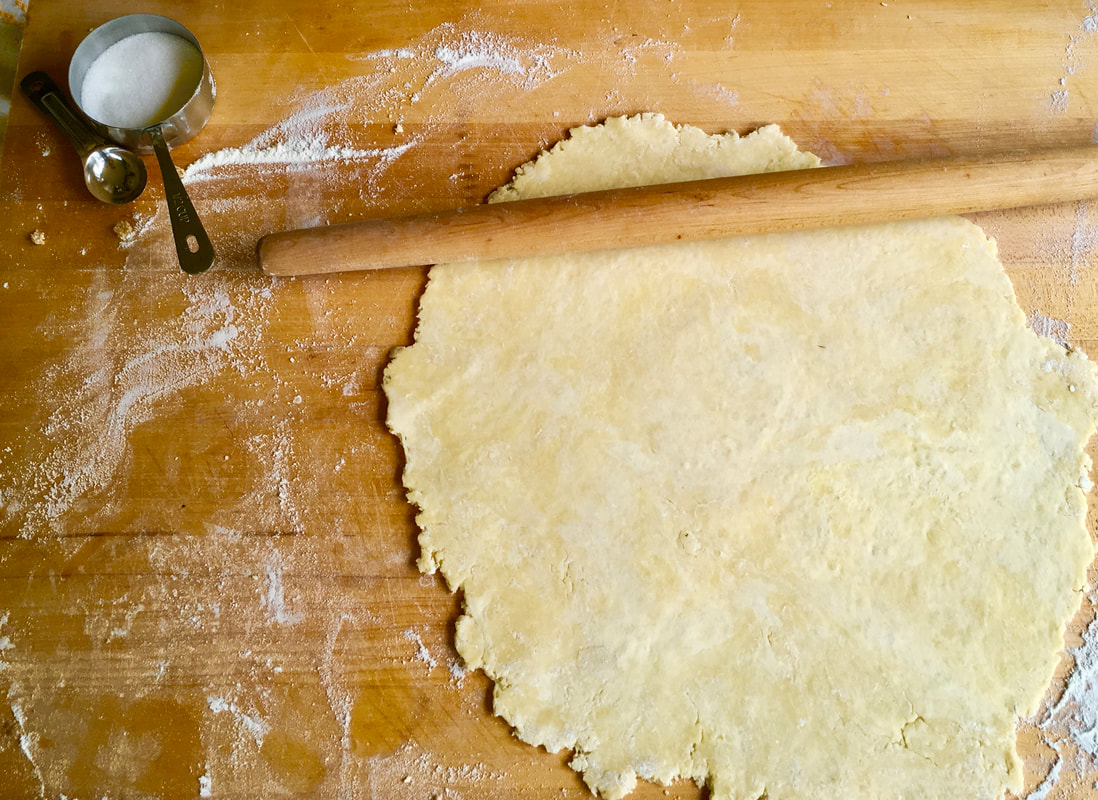
1 recipe double crust pie dough-see recipe
About 10 cups heritage apples (about 6 large apples)-(leave skin on) quartered and cored, sliced into 1/4-inch thick slices, or chunk them up into pieces you can comfortably eat.
1/2 cup sugar or more to taste.
1/2 tsp salt
1 tsp cinnamon
2 gratings of nutmeg
1/2 tsp allspice
1 tablespoon artisan apple cider vinegar or 1-2 tsp freshly squeezed lemon juice
1-2 tablespoons calvados or other apple liqueur (optional)
1/2 cup flour
1 recipe double-crust pie dough (ingredients above)
1 knob butter, the size of a small walnut, cut into small pieces for dotting the top of the filling
1-2 tsp sugar, for sprinkling on top of the pie
Egg Wash
1 egg white plus 1 tablespoon water, fork beaten
Notes:
Freeze your raw pie and cook another time. Wrap the raw pie in plastic wrap. Freeze. To bake, place the frozen pie on the counter while you preheat your oven. Place in the oven and cook as directed. Add 15-20 minutes to your baking time. Check to see if the filling is bubbling out of the vent wholes. If not, add 5-10 minutes and check again. If the filling is bubbling, remove the pie from the oven and cool as directed.
Liz's Pie Variations:
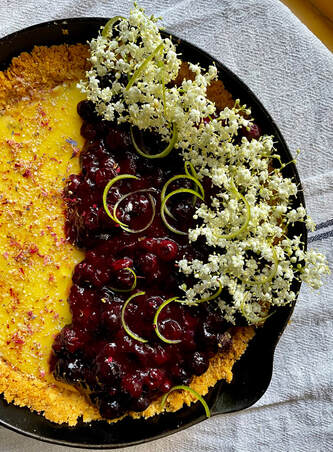
Pear Cranberry Pie-6 cups pears, 4 cups fresh cranberries (1 bag), 3/4 cup sugar, 1 teaspoon cinnamon, 1 teaspoon ground ginger. Follow the recipe as written.
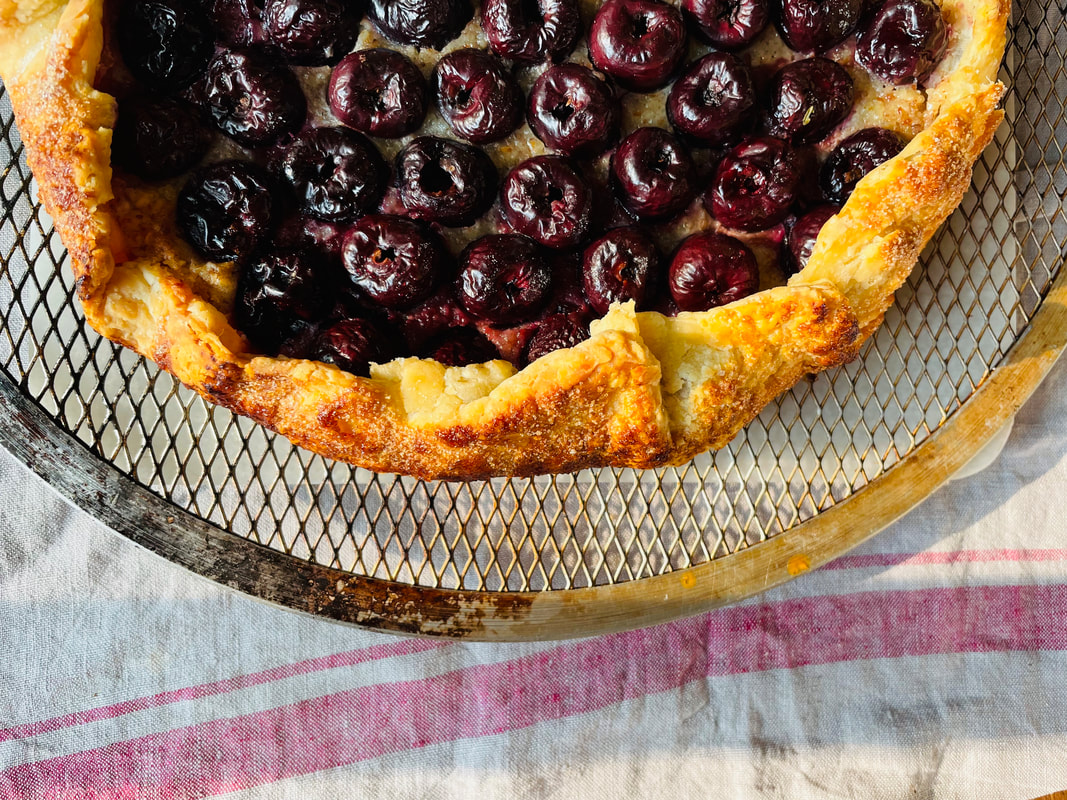
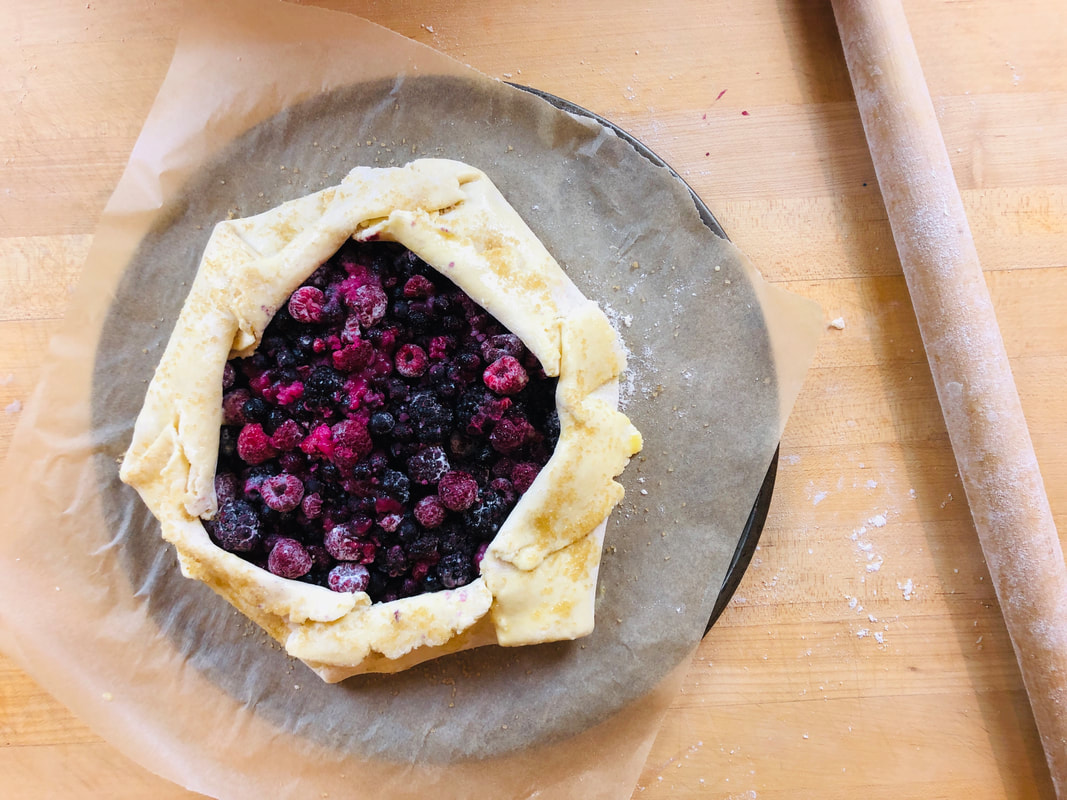
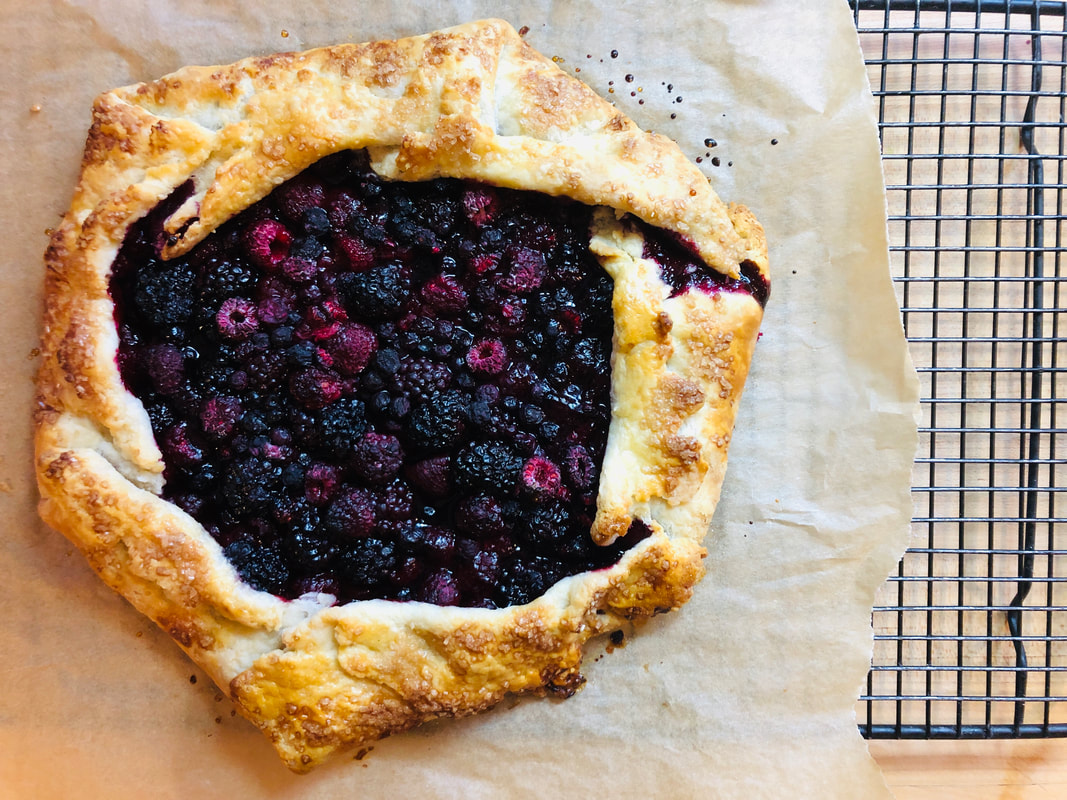
Apple Blueberry-Substitute some apple for fresh or frozen blueberries. If using frozen, do not thaw before making your filling.
Makes one double crust apple pie using a 9 1/2 inch deep-dish pie pan
1 recipe double crust pie dough-see recipe
About 10 cups heritage apples (about 6 large apples)-(leave skin on) quartered and cored, sliced into 1/4-inch thick slices, or chunk them up into pieces you can comfortably eat.
1/2 cup sugar or more to taste.
1/2 tsp salt
1 tsp cinnamon
2 gratings of nutmeg
1/2 tsp allspice
1 tablespoon artisan apple cider vinegar or 1-2 tsp freshly squeezed lemon juice
1-2 tablespoons calvados or other apple liqueur (optional)
1/2 cup flour
1 recipe double-crust pie dough (ingredients above)
1 knob butter, the size of a small walnut, cut into small pieces for dotting the top of the filling
1-2 tsp sugar, for sprinkling on top of the pie
Egg Wash
1 egg white plus 1 tablespoon water, fork beaten
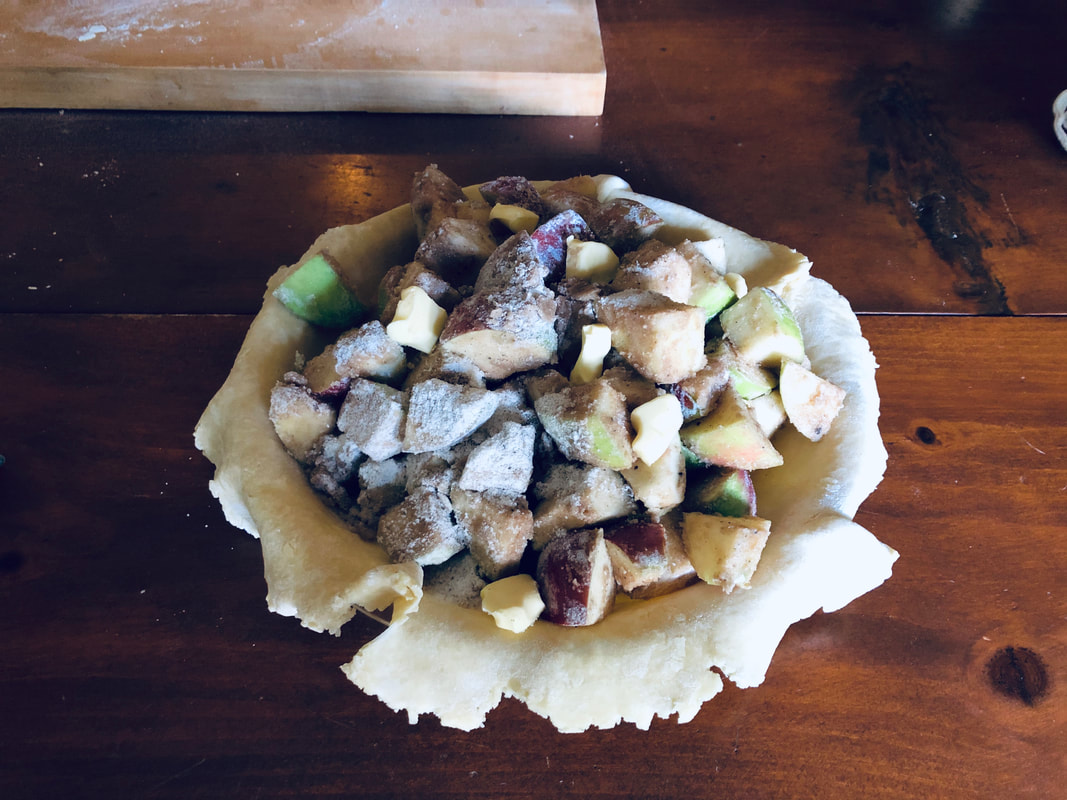
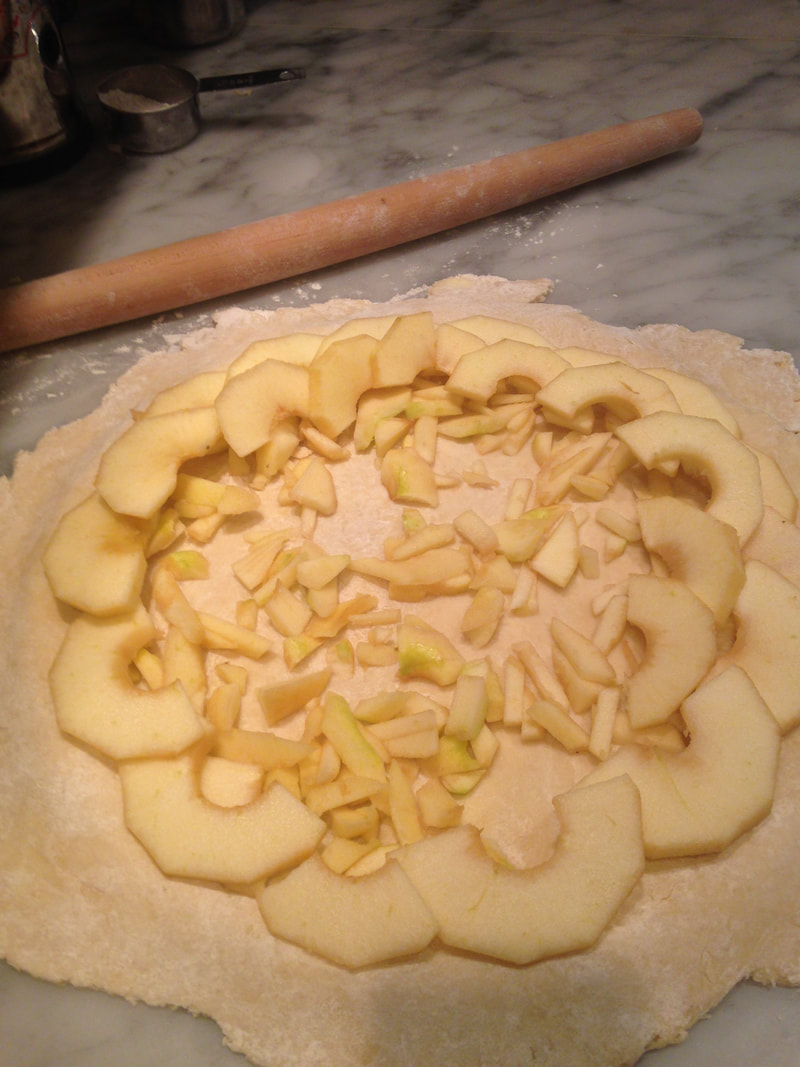
- Slice the apples in 1/2-inch-thick slices, or chunk them up into pieces you can comfortably get into your mouth.
- In a large mixing bowl put the apples, sugar, salt, cinnamon, nutmeg, all spice, vinegar, calvados, and flour, and mix lightly until most of the surfaces are covered with what looks like wet sand.
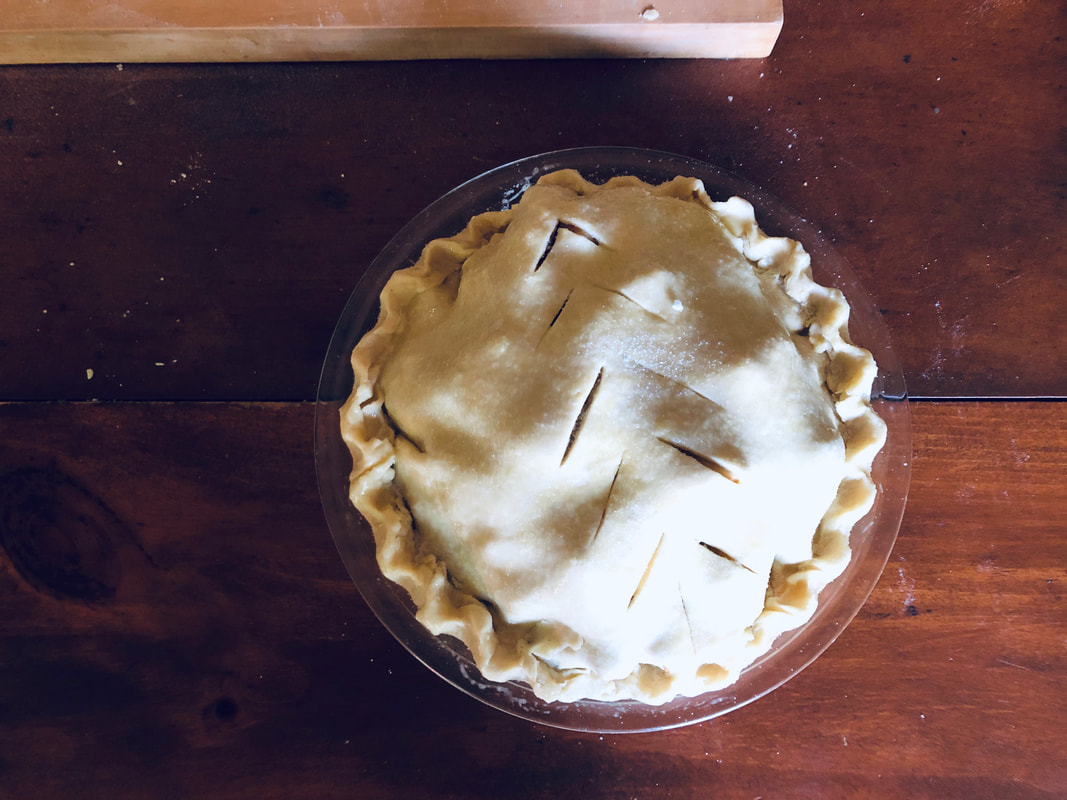
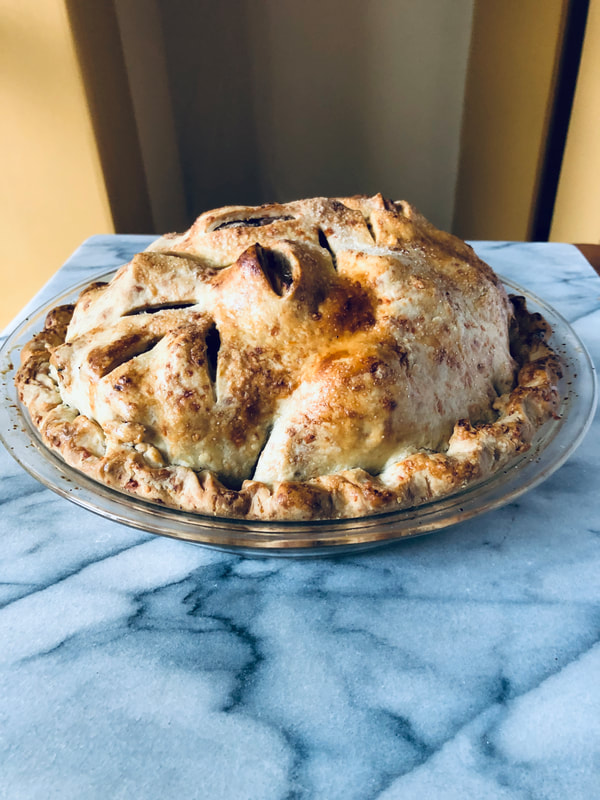
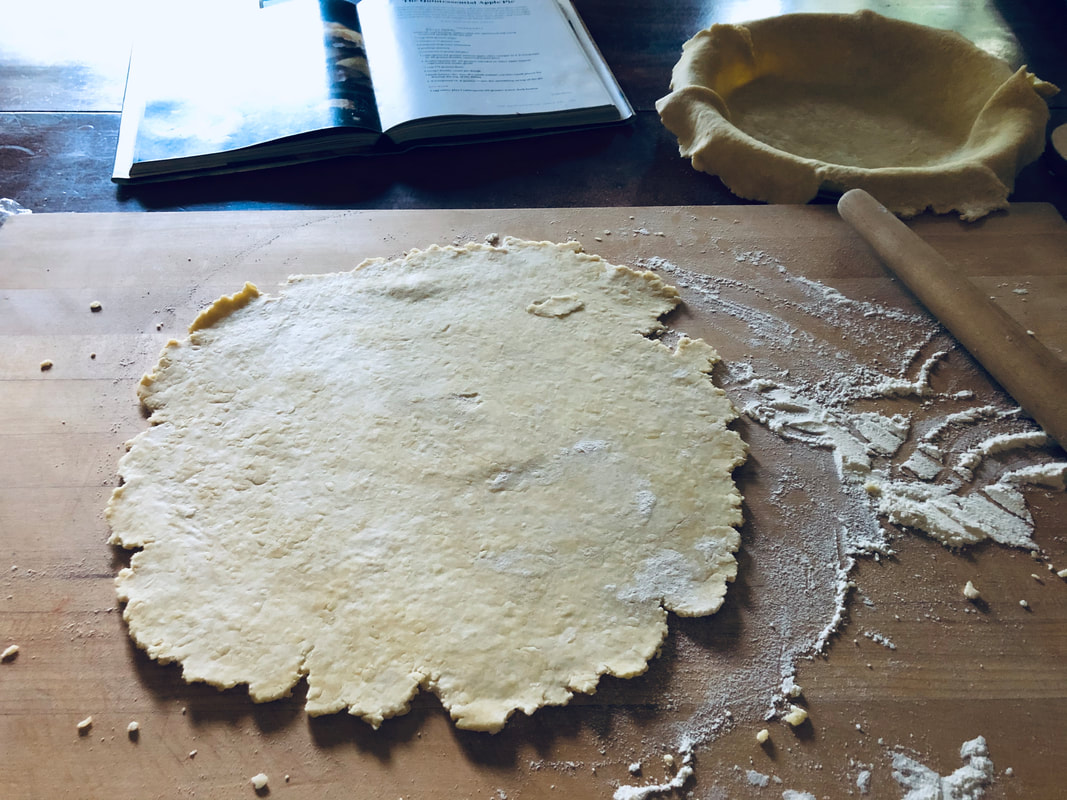
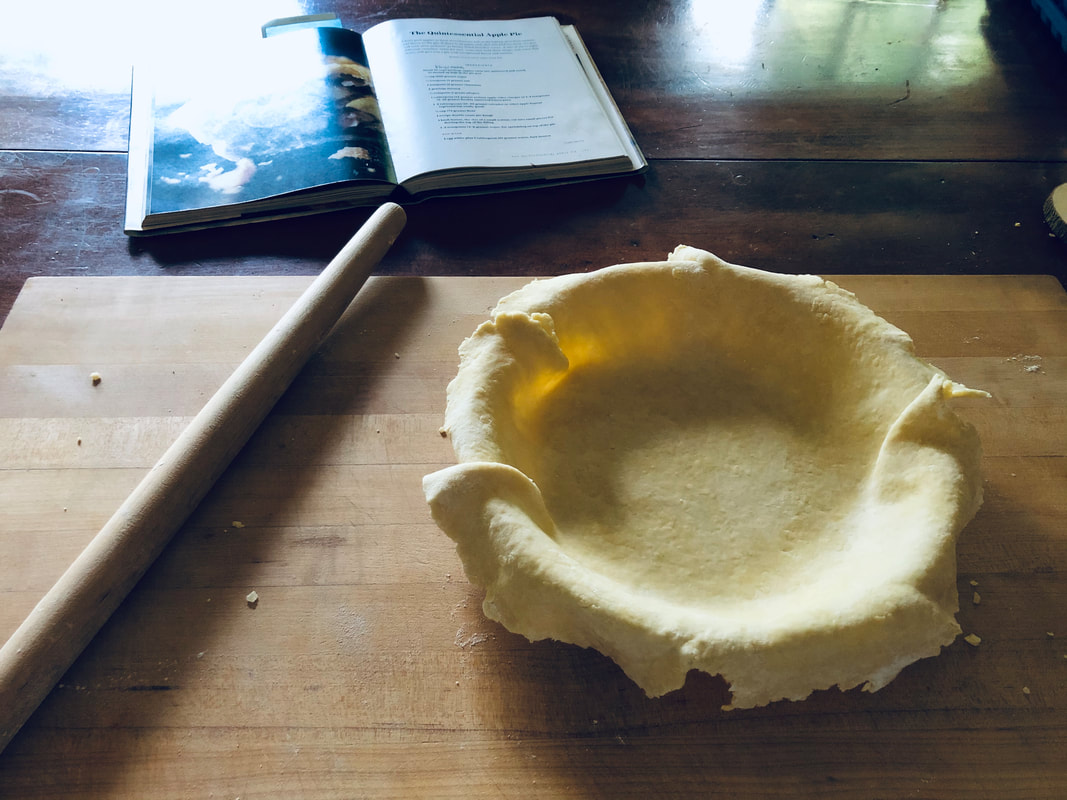
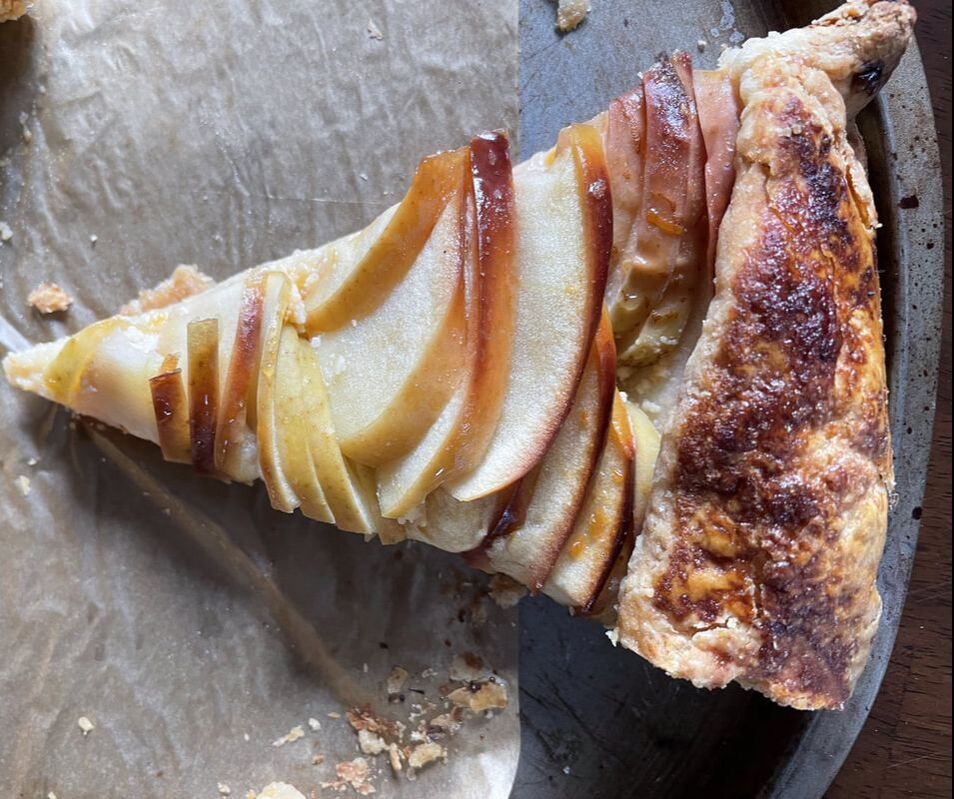
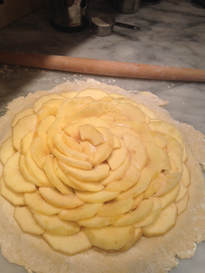
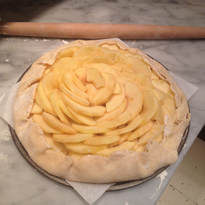
- Pour into an unbaked pie crust, mounding high and dot with butter.
- Roll out second crust and place on top; crimp edges with a fork.
- Cut 5 vent holes.
- Paint with egg white wash.
- Sprinkle some extra sugar evenly on top.
- Cover the pie and chill in the refrigerator while you preheat your oven to 425F.
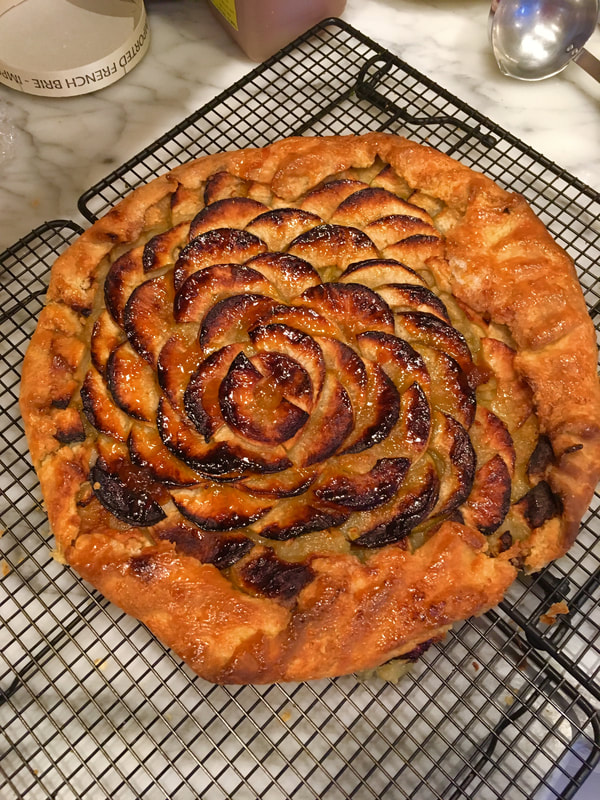
- Place the pie into your preheated oven and bake for 20 minutes.
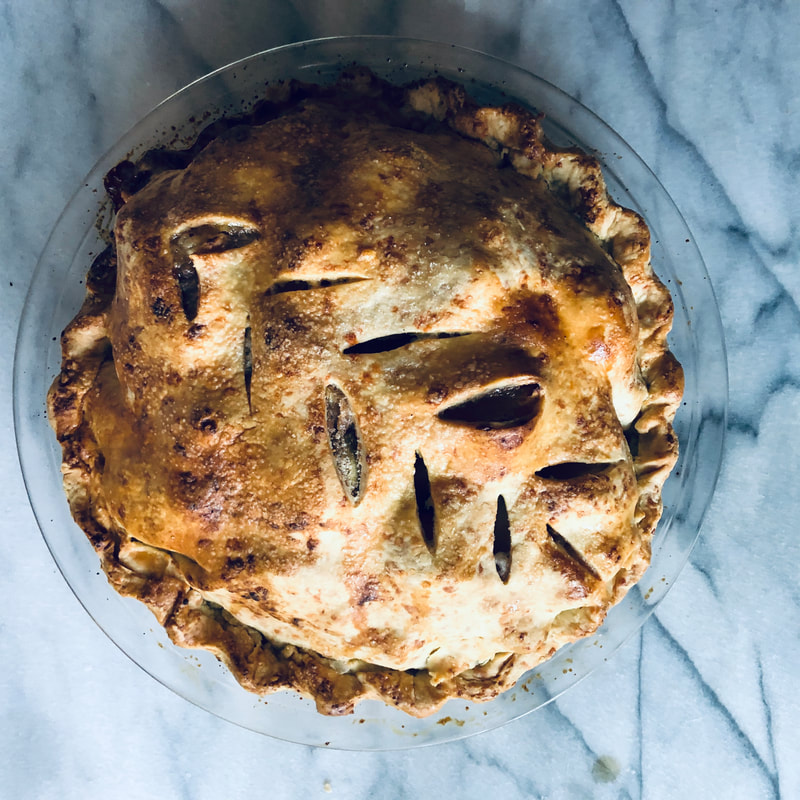
- Reduce heat to 375F and bake for 40 minutes longer. Check to see that the filling is bubbling beneath the vent holes. If you don't see the filling bubble, bake 5-10 minutes longer or until the filling bubbles.
- Remove from the oven and cool for at least 1 hour.
Notes:
Freeze your raw pie and cook another time. Wrap the raw pie in plastic wrap. Freeze. To bake, place the frozen pie on the counter while you preheat your oven. Place in the oven and cook as directed. Add 15-20 minutes to your baking time. Check to see if the filling is bubbling out of the vent wholes. If not, add 5-10 minutes and check again. If the filling is bubbling, remove the pie from the oven and cool as directed.
Liz's Pie Variations:
Pear Cranberry Pie-6 cups pears, 4 cups fresh cranberries (1 bag), 3/4 cup sugar, 1 teaspoon cinnamon, 1 teaspoon ground ginger. Follow the recipe as written.
Apple Blueberry-Substitute some apple for fresh or frozen blueberries. If using frozen, do not thaw before making your filling.


 RSS Feed