Liz Barbour's Creative Feast
  • HOME
  • Programming
    • Pick A Class
    • Schedule a Class >
      • Fees
      • Testimonials
      • Class Survey
  • EVENTS
    • Calendar
    • Intermittent Fasting Classes
    • Liz's Open Garden 2022
  • FOOD & FUN
    • Recipe Blog
    • Intermittent Fasting
    • Recipes from Hollis
    • Low-Carb
    • Kitchen Tools Liz Loves
    • Barbour Chicks
    • Liz's Edible Gardens
    • Liz's Kitchen Remodel
    • Artisan Bread
  • STORE
    • Liz's Cookbook
    • Shop
  • Contact Liz
  • About Liz
    • Liz's Story
    • Liz in The Press >
      • Newspaper
      • Magazine
      • Television
      • Articles by Liz

Stuffing Tips

11/23/2015

0 Comments

 
Tip #1...Dry your stuffing bread ahead:
Drying the bread before making the stuffing is crucial for texture and flavor. If you plan ahead, you can simply leave the bread cubes out on the counter for a few days to become stale. Otherwise, spread them out on baking sheets and dry in a 300-degree oven for 30 to 60 minutes. Let the bread cool before using in the stuffing. 
Tip #2...Cook your stuffing outside of your turkey:
Cut down on turkey cooking time by cooking your stuffing outside of your turkey.  
Tip #3...Prepare your stuffing ahead and reheat:
I love to prepare side dishes and desserts ahead of time if at all possible.  Stuffing is the perfect cook ahead item.  The stuffing can be assembled in the baking dish, then wrapped tightly in plastic wrap and refrigerated for up to 24 hours before baking. To bake, let the stuffing stand at room temperature for 30 minutes. Remove the plastic wrap and proceed to bake as directed in step 3 of the recipe below.

Thanksgiving Dressing....Cook's Illustrated

12 tablespoons unsalted butter (1 1/2 sticks), plus extra for baking dish
4 medium ribs celery , chopped fine
2 medium onions , minced
1/2 cup minced fresh parsley leaves
3 tablespoons minced fresh sage leaves or 2 teaspoons dried
3 tablespoons minced fresh thyme leaves or 2 teapoons dried
1 tablespoon minced fresh marjoram leaves or 1 teaspoon dried
3 pounds high-quality sandwich bread (white), cut into 1/2-inch cubes and dried (see note)
5 cups chicken stock or low-sodium canned chicken broth
4 large eggs , beaten lightly
2 teaspoons table salt
2 teaspoons ground black pepper
 
 Instructions
  1. Adjust oven rack to center position and heat oven to 400 degrees. Heat butter in 12-inch skillet over medium-high heat. Add the celery and onion and sauté, stirring occasionally, until softened, about 10 minutes. Stir in parsley, sage, thyme, and marjoram and cook until fragrant, about 1 minute longer. Transfer to a very large mixing bowl.
  2. Add the dried, cooled bread, stock or broth, eggs, salt, and pepper to the vegetables and toss gently to distribute dry and wet ingredients evenly. Turn mixture into buttered 15-x 10-inch baking dish.
  3. Cover with foil and bake for 25 minutes. Remove the foil and continue to bake until golden, about 30 minutes longer. Cool for 10 minutes before serving.

Note: If you want a stuffing that is moister, drizzle the dressing with some of the turkey pan drippings or more chicken stock.  
0 Comments

Sweet Peas with Mint Vinaigrette

11/22/2015

0 Comments

 
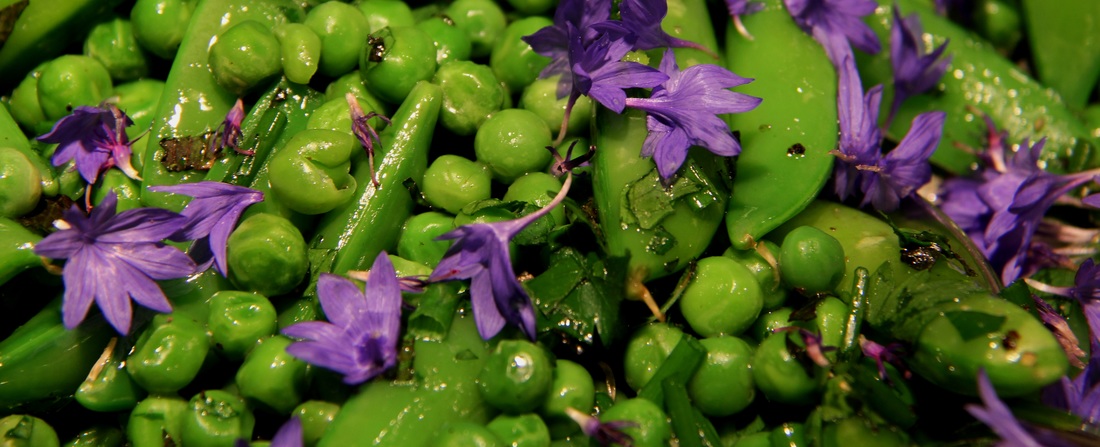
This recipe will turn a pea hater into a pea lover.  Honest!   Frozen petite peas that have been thawed combined with the sweet and savory mint vinaigrette is a winning combination.  It is the perfect sidedish to bring to a dinner party.  Add steamed sugar snap peas, asparagus, or cauliflower for variety.  Dress the peas with half of the vinaigrette about one hour before serving,  Save the rest for another day.  Season with salt and pepper and serve cold or at room temperature.  You'll love it.  Honest!
​
Picture
Serves 6-8
1 pound frozen petite peas, thawed
1/2 pound of sugar snap peas, steamed for 2 minutes, then cooled
2 tablespoons red onion, chive or scallion, chopped
¾ cup avocado oil or olive oil
¼ cup rice vinegar (or white vinegar)
1 teaspoon sugar
½ cup mint, chopped
½ cup flat leafed parsley, chopped
Kosher salt and ground pepper
Edible flower petals for garnish: pansy, bachelor buttons, dianthus, etc.
 
Optional: Add ½ pound sugar snap peas that have been steamed for 30 seconds then cooled in cold water.

  1. Place the thawed peas, sugar snap peas, and red onion in a medium bowl. 
  2. In a blender, combine the oil, vinegar, and sugar with the chopped herbs and pulse until the ingredients are pureed. 
  3. Dress the salad with enough dressing to lightly coat the peas.   Season with salt and pepper to taste.  Save remaining dressing for another salad.
 
* Keep remaining dressing for another salad or to serve with vegetables, salad, fish, lamb, or chicken.  

0 Comments

Apple Cider Gravy

11/22/2015

0 Comments

 
Makes 2 cups
 
3 Tbs unsalted butter
3 Tbs flour
1 Tbs unsalted butter
2 Tbs shallots or yellow onion, finely chopped
1 ½ cups apple cider
2 cups turkey stock (de-fatted) or low-sodium turkey or chicken broth (Better Than Bullion is very good)
2 tsp fresh sage, chopped or 1 tsp dried
*Pan drippings from a roasted chicken or turkey if you have them

  1. Using your fingers, knead the butter and flour together to form a paste.  Set aside.

  2. Place the butter and chopped shallots into a medium sauté pan over medium-low heat.  If you have pan drippings from a cooked turkey, add them to the pan. Cook, stirring occasionally just until the shallots soften, about 2-3 minutes. 
  3. Add the cider, stock, and sage to the pan and bring to a boil then lower the heat to a simmer. Cook until the liquid is reduced to 2 cups, about 10-15 minutes.
  4. One tablespoon at a time whisk the butter herb paste into the simmering liquid to thicken. Continue cooking while stirring until the gravy is thick enough to coat the back of a spoon. Season with salt and pepper to taste.  Serve immediately or cool and refrigerate for later use.  This gravy freezes well so make extra and freeze!
Picture
Photo by Ella Navaroli
0 Comments

Roast Turkey...Cook's Illustrated's version

11/22/2015

0 Comments

 
Picture
Photo by Ella Navaroli
I am always happy to refer to excellent recipes.  Cook's Illustrated is one of the best when it comes to "tried and true" recipes.  This is the recipe I've used in my classes and at home.  Enjoy!

1 turkey (12 to 22 pounds gross weight), rinsed thoroughly, giblets and neck reserved for gravy, if making
1 tablespoon unsalted butter , melted

  1. Prepare brine recipe from www.thepioneerwoman.com and place turkey in brine for 16-24 hours.
  2. Before removing turkey from brine, adjust oven rack to lowest position; heat oven to 400 degrees for 12- to 18-pound bird or 425 degrees for 18- to 22-pound bird. Line large V-rack with heavy-duty foil and use paring knife or skewer to poke 20 to 30 holes in foil; set V-rack in large roasting pan.
  3. Remove turkey from brine and rinse well under cool running water. Pat dry inside and out with paper towels. Tuck tips of drumsticks into skin at tail to secure, and tuck wing tips behind back. Brush turkey breast with 2 tablespoons butter. Set turkey breast-side down on prepared V-rack; brush back with remaining 2 tablespoons butter. Roast 45 minutes for 12- to 18-pound bird or 1 hour for 18- to 22-pound bird.
  4. Remove roasting pan with turkey from oven (close oven door to retain oven heat); reduce oven temperature to 325 degrees if roasting 18- to 22-pound bird. Using clean potholders or kitchen towels, rotate turkey breast-side up; continue to roast until thickest part of breast registers 165 degrees and thickest part of thigh registers 170 to 175 degrees on instant-read thermometer, 50 to 60 minutes longer for 12- to 15-pound bird, about 1 1/4 hours for 15- to 18-pound bird, or about 2 hours longer for 18- to 22-pound bird. Transfer turkey to carving board; let rest 40 minutes to 1 hour.  Carve and serve.
0 Comments

Turkey Brine...The Pioneer Woman does it right

11/22/2015

0 Comments

 
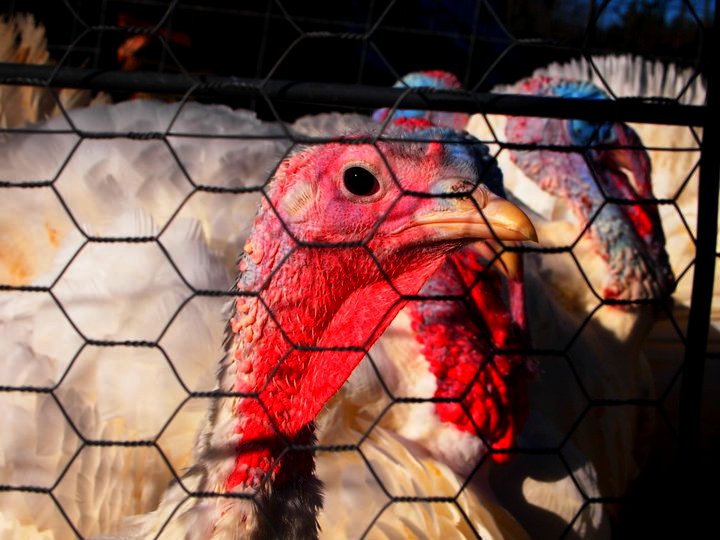
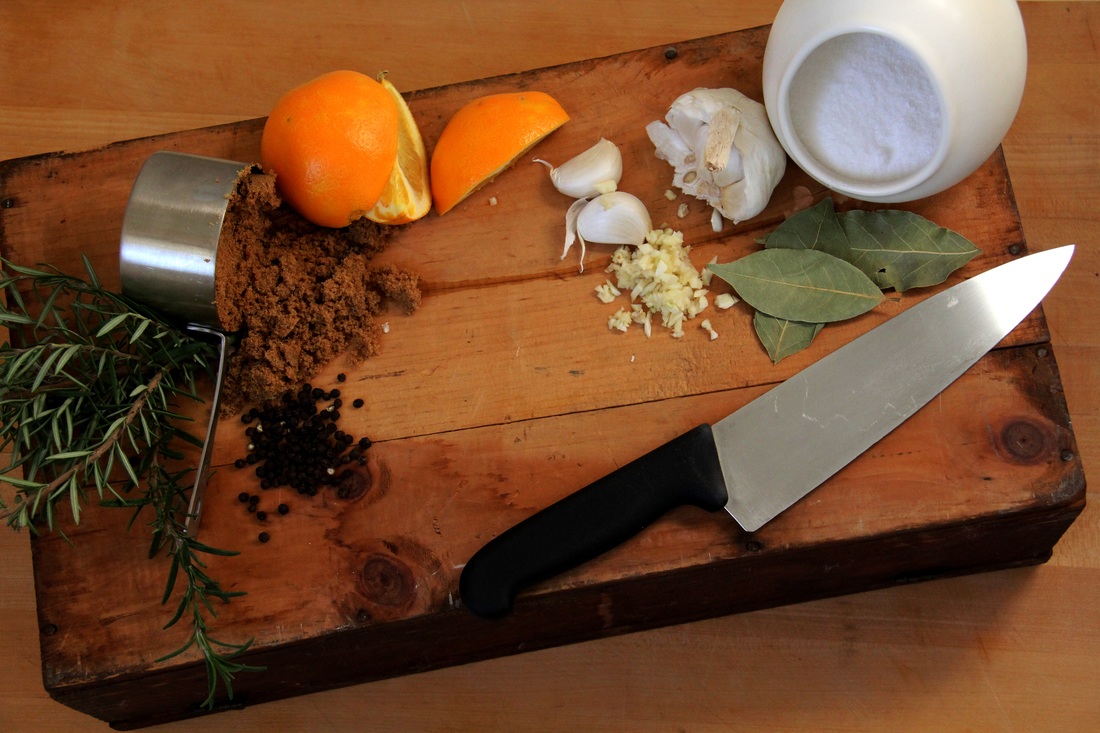
I have found that brining a turkey is a great way to help the meat retain its moisture.  The recipe that I've used at home and in my classes is a recipe by The Pioneer Women.  
Picture
0 Comments

Cran-Raspberry Sauce...Not Just for Thanksgiving

11/20/2015

2 Comments

 
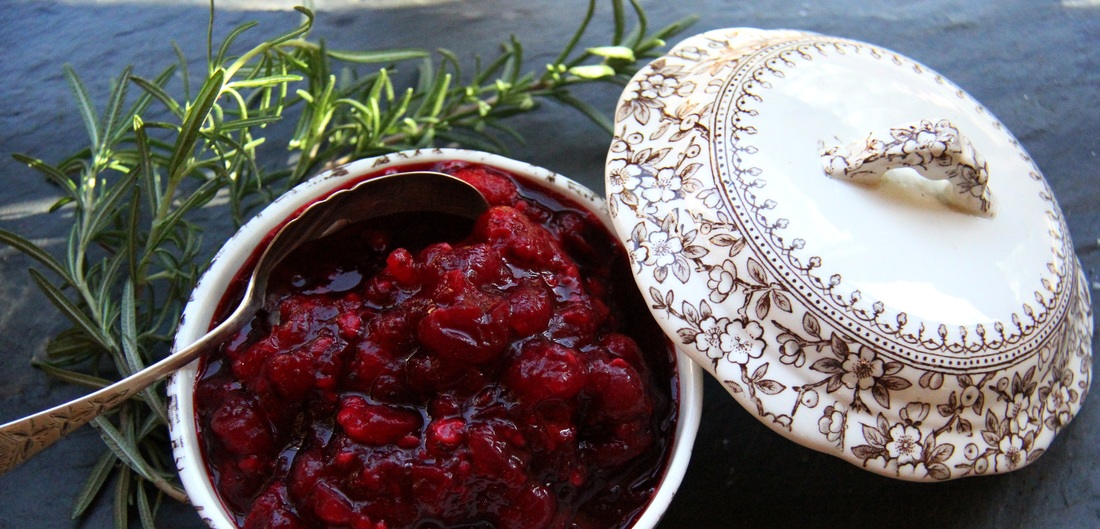
Let me begin this post with a big THANK YOU to my friend Kaaren who gave me this recipe years ago.  It has become a favorite dish on my Thanksgiving table and a favorite recipe at my cooking demonstrations.  I make batches and batches of this tart-sweet sauce to freeze and have long after fresh cranberries are no longer available at the grocery store.  I'll even buy bags of cranberries and freeze them to assure I have this sauce all year long.  I use frozen raspberries which are sweet and economical.  
On the sweet side, I serve this sauce for dessert draped over pound cake and ice cream.  I also use it the breakfast table served on oatmeal, yogurt, and cottage cheese.  To add a savory side to the sauce I've prepared it with chopped fresh rosemary to compliment chicken, pork, and roasted vegetables.  I'm sure once you try it you'll love it too.
Picture

Cran-Raspberry Sauce

​Makes 3 cups
 
1 12 oz package of fresh cranberries
1/2 cup of sugar
1 cup water
1 12 oz package of frozen raspberries

  1. Combine water, sugar, and cranberries in a medium saucepan. Bring to boil. Reduce heat and simmer gently for 10 minutes, stirring occasionally. Turn off the heat.  Cool the cranberries to room temperature.

  2. After the cranberries have cooled gently stir in the raspberries.  Refrigerate until ready to serve.
 
*Make this a savory sauce by adding 1 teaspoon of fresh chopped rosemary and ½ tsp of salt while cooking the cranberries and sugar.  
2 Comments

Gremolata…the perfect topping

11/12/2015

 
I featured this recipe on WMUR's Cook's Corner.  Click here to see the segment.
Picture
Makes 1 ½ cups
Zest of 2 lemons, chopped
4 small garlic cloves, minced
1 ½ cups fresh Italian flat-leafed parsley, chopped
1 tablespoon finely chopped fresh rosemary
1 cup shredded Parmesan cheese
½ cup Extra Virgin Olive Oil
Kosher salt and freshly ground pepper to taste
 
Combine all ingredients in small bowl.
 
How to serve your gremolata. When using these suggestions, add gremolata to taste.
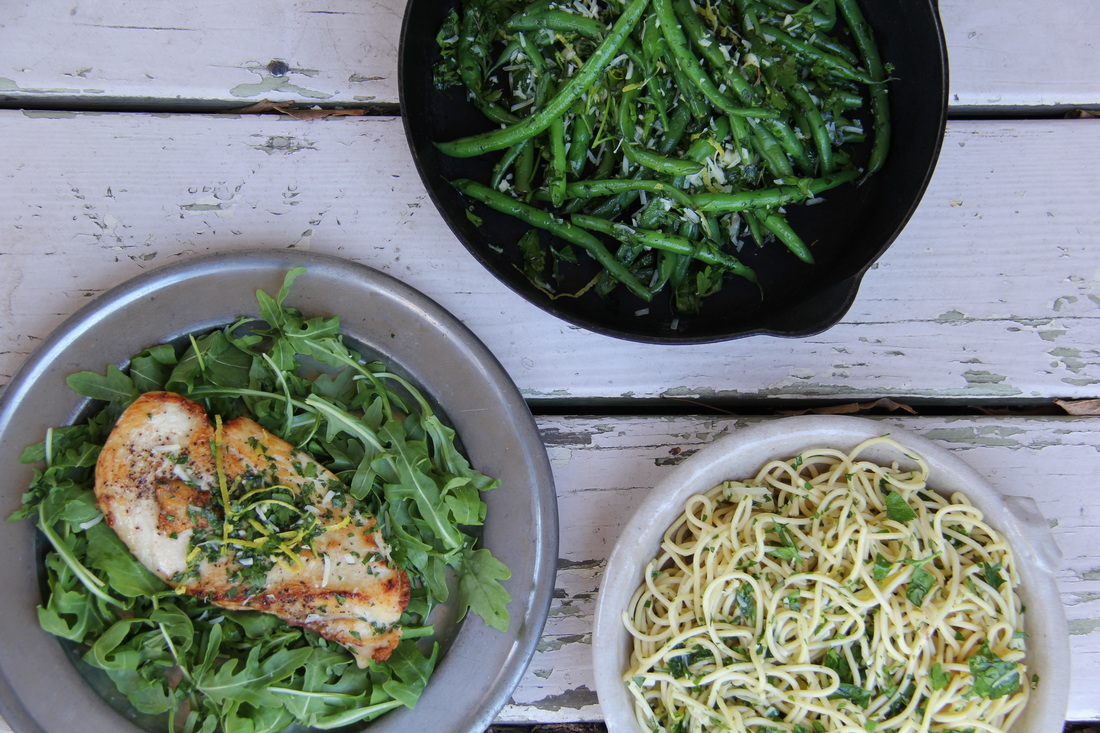
  • Toss gremolata with 1 pound of hot linguini, some shredded chicken, and cooked broccoli.
  • Serve with cooked green beans.
  • Stir 1 spoonful into a bowl of lamb stew, beef stew, chicken stew, soup, or ossobucco.
  • Serve with roasted or seared chicken.
  • Serve with grilled fish.

Chia Yogurt Pudding

11/12/2015

0 Comments

 
Chia Yogurt Pudding
​Makes 4 servings
 
1 cup low fat milk, vanilla soy milk, or almond milk 
1 cup vanilla or plain low-fat Greek yogurt
⅛ teaspoon kosher salt
¼ cup chia seeds
 Optional: 2 Tbs real maple syrup if you'd like to sweeten up the pudding

In a medium bowl, whisk the milk, yogurt, salt, and maple syrup (if using)until just blended. Whisk in the chia seeds. Let stand for 30 minutes. Stir to distribute the seeds if they have settled. Cover and refrigerate overnight. Serve with ¼ cup of berries or ½ sliced banana.
 
Options: ​
  • Make a parfait by adding homemade unsweetened apple sauce to the bottom of a cup before pouring in the pudding.
0 Comments

I'm a believer: Barefoot Contessa's recipes are "Foolproof"

11/5/2015

0 Comments

 
On average I teach 3 to 4 classes per week.  To prepare for each class I select 2-3 recipes from my files of over 500 recipes that I've created for either classes or catering menus.  The day before a class I head to the grocery store with my class recipes and shop for the ingredients.  Often I am shopping for 2-3 classes at a time.  I keep all of my receipts in folders labled for each class.  If its been awhile since I've cooked any of the recipes I'll be teaching I prepare them for dinner the night before the class just to be sure the recipes are fresh in my mind.  The day of my class I precook pastas, grains, and other ingredients ahead to save time during class.  I pack my portable kitchen and food bag checking necessary items against a master inventory list and my recipes to be certain I have everything for class...I hate to forget anything!   This is the routine I go through for every class...except my recent class at the Bedford, MA Public Library.  For this class I left out one important part of my routine...I took a big chance to prove a point. 
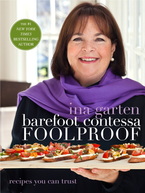
The Bedford library has booked me for 5 classes in my Cookbook Club series.  Each month the librarian selects a book from a list I've provided and arranges for multiple copies of the book to be available at the library.  I go through the book and select 2-3 recipes that will build on cooking techniques from the previous class to give students the confidence to recreate the recipes at home.  For our first class we explored Cook's Illustrated's book "The Science of Good Cooking".  This week's class featured Ina Garten's Barefoot Contessa "Foolproof".  To prove that Ina's recipes are infact "foolproof" I did not test them beforehand and instead prepared them for the first time in class.  I've never done this before, and when I announced my lack of preparation to the class I saw wide-eyed stares from the audience.  The stares turned into smiles though as I explained that my goal was to approach the recipes as they would for the first time.   Together we crossed our fingers hoping that the recipes would be as foolproof as Ina promised, and they did.  I prepared Ina's "Easy Hollandaise Sauce", "Green Beans Gremolata", and the shallot sauce from her "Veal Chops with Caramelized Shallots".  All were easy to prepare and delicious.  I recommend you pick up her book.  The recipes are ones that will appeal to anyone joining you for dinner.  They are uncomplicated, and "foolproof".

Picture
0 Comments
    Picture

    Picture
    Follow Liz on Instagram

    Picture
    photo credit-Judy Santos-jsantosphotography.com

    Recipe Categories

    All
    15 Minute Meals
    Air Fryer
    Appetizers/Hors D'oeurves
    Avocados
    Baking
    Beautifully Delicious
    Beef
    Bread
    Breakfast
    Chaffles
    Charcuterie
    Chicken
    Cocktails
    Cookies
    Cooking For 1 Or 2
    Cooking With Chocolate
    Cooking With Wine
    Cooking W/Spices
    Cook's Corner TV
    Cook The Book Cookbook Series
    Dairy
    Desserts
    Dressings
    Drinks
    Edible Flowers
    Edible Garden
    Edible Landscapes
    Eggs
    Entrees
    Facebook Live
    Fall Recipes
    Fats
    Food Film/TV
    Grain Bowls
    Herbs
    Hollis NH Recipes
    Instant Pot
    Intermittent Fasting
    Kitchen/Pantry
    Knife Class
    Lamb
    Lobster Tails & Cocktails
    Local Farms
    Lowcarb
    Low Carb Breakfast
    Pantry
    Passionate Dishes For Your Valentine
    Pasta
    Pie Classes
    Pies Savory
    Pork
    Rubs
    Salads
    Sandwiches
    Sauces
    Seafood
    Seasoning Blends
    Seed Oils
    Sheet Pan Meals
    Side Dishes
    Smoothies
    Soups/Stews
    Starches/Pasta/Beans
    Stock
    Tapas
    Tarts Savory
    Thanksgiving
    Turkey
    Vegetables
    Vegetarian
    Winter Pantry


    Liz's Cookbook

    Liz's Gardens

    Picture

    Liz's Kitchen

    Picture

    Archives

    January 2023
    December 2022
    November 2022
    October 2022
    September 2022
    August 2022
    July 2022
    June 2022
    May 2022
    April 2022
    March 2022
    February 2022
    January 2022
    December 2021
    November 2021
    October 2021
    September 2021
    August 2021
    July 2021
    June 2021
    May 2021
    April 2021
    March 2021
    February 2021
    January 2021
    December 2020
    November 2020
    October 2020
    September 2020
    August 2020
    July 2020
    June 2020
    May 2020
    April 2020
    March 2020
    February 2020
    January 2020
    November 2019
    October 2019
    September 2019
    May 2019
    October 2018
    March 2018
    November 2017
    October 2017
    September 2017
    August 2017
    June 2017
    May 2017
    February 2017
    June 2016
    February 2016
    December 2015
    November 2015
    October 2015
    August 2015
    July 2015
    June 2015
    May 2015
    April 2015

    RSS Feed

CONTACT US

Email

lizb@thecreativefeast.com

Telephone

Location

603-321-5011
Hollis, NH