
Adapted from Dietdoctor.com
Makes one 8 ½ x 4-inch bread pan
1 cup almond flour
¾ cup coconut flour
5 tbsp sesame seeds
½ cup flaxseed
¼ cup ground psyllium husk powder
3 tsp baking powder
1 tsp ground fennel seeds or ground caraway seeds
1 tsp salt
6 eggs
7 oz. cream cheese
½ cup melted butter or melted coconut oil
¾ cup heavy whipping cream
1 tbsp poppy seeds or sesame seeds
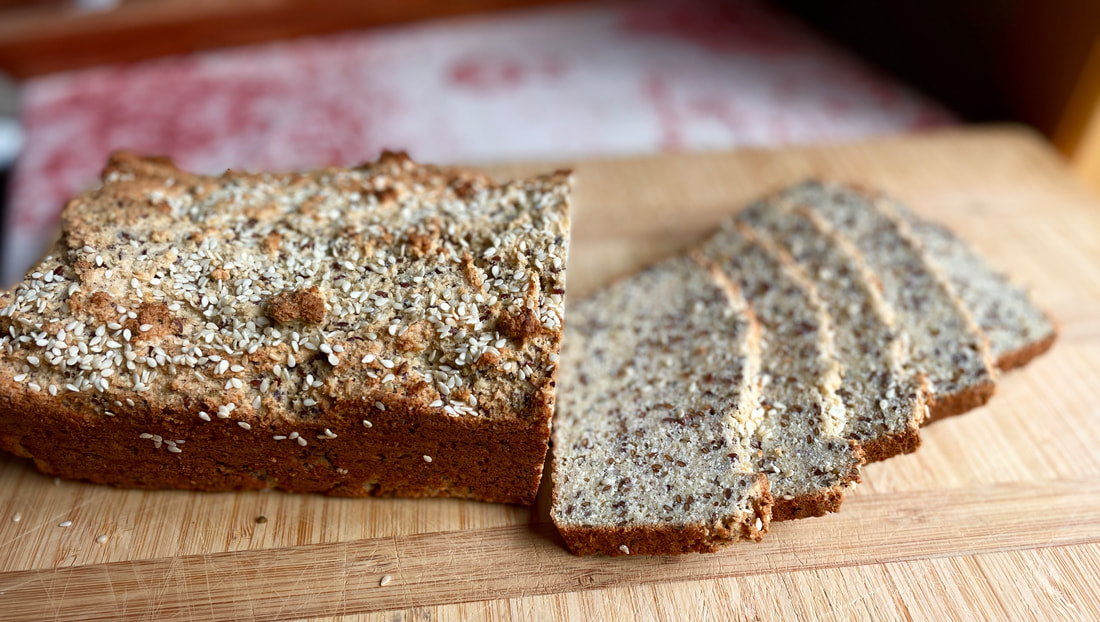
1. Preheat the oven to 350°F (175°C). Butter a 8 ½ x 4-inch bread pan well and line the bottom with parchment paper.
2. Mix all dry ingredients, except the seeds for the topping (poppy or sesame seeds) in a bowl.
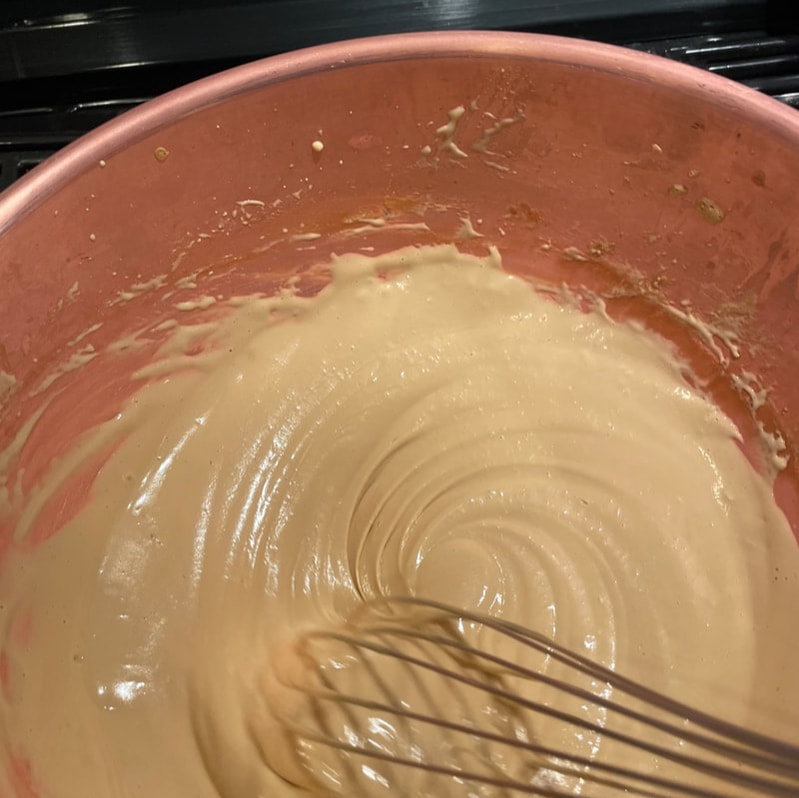
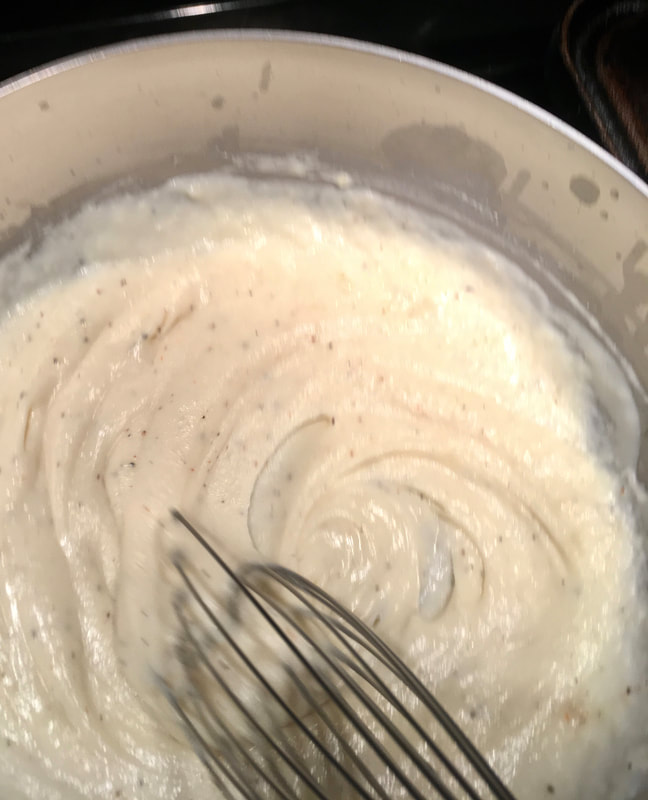
3. In a separate bowl, whisk all remaining ingredients until smooth.
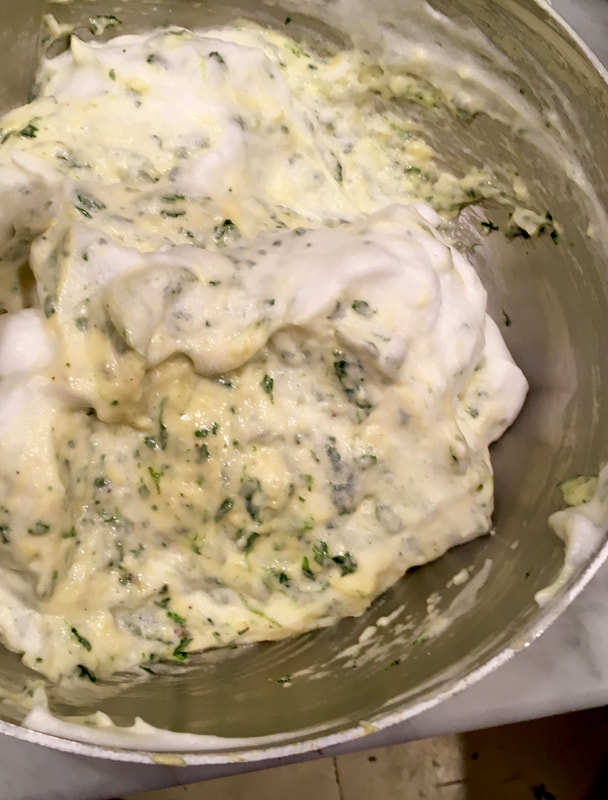
4. Add the dry mixture to the wet ingredients and mix thoroughly.
5. Bake for about 45 minutes on the lower rack in the oven. Use a cake tester to see if it's ready, it should come out clean. Let the loaf rest for 10 minutes, and then remove the bread from the form onto a cooling rack.
6. Serve it sliced thin your favorite toppings. Store in the refrigerator. This bread freezes well.
Makes one 8 ½ x 4-inch bread pan
1 cup almond flour
¾ cup coconut flour
5 tbsp sesame seeds
½ cup flaxseed
¼ cup ground psyllium husk powder
3 tsp baking powder
1 tsp ground fennel seeds or ground caraway seeds
1 tsp salt
6 eggs
7 oz. cream cheese
½ cup melted butter or melted coconut oil
¾ cup heavy whipping cream
1 tbsp poppy seeds or sesame seeds
1. Preheat the oven to 350°F (175°C). Butter a 8 ½ x 4-inch bread pan well and line the bottom with parchment paper.
2. Mix all dry ingredients, except the seeds for the topping (poppy or sesame seeds) in a bowl.
3. In a separate bowl, whisk all remaining ingredients until smooth.
4. Add the dry mixture to the wet ingredients and mix thoroughly.
5. Bake for about 45 minutes on the lower rack in the oven. Use a cake tester to see if it's ready, it should come out clean. Let the loaf rest for 10 minutes, and then remove the bread from the form onto a cooling rack.
6. Serve it sliced thin your favorite toppings. Store in the refrigerator. This bread freezes well.


 RSS Feed