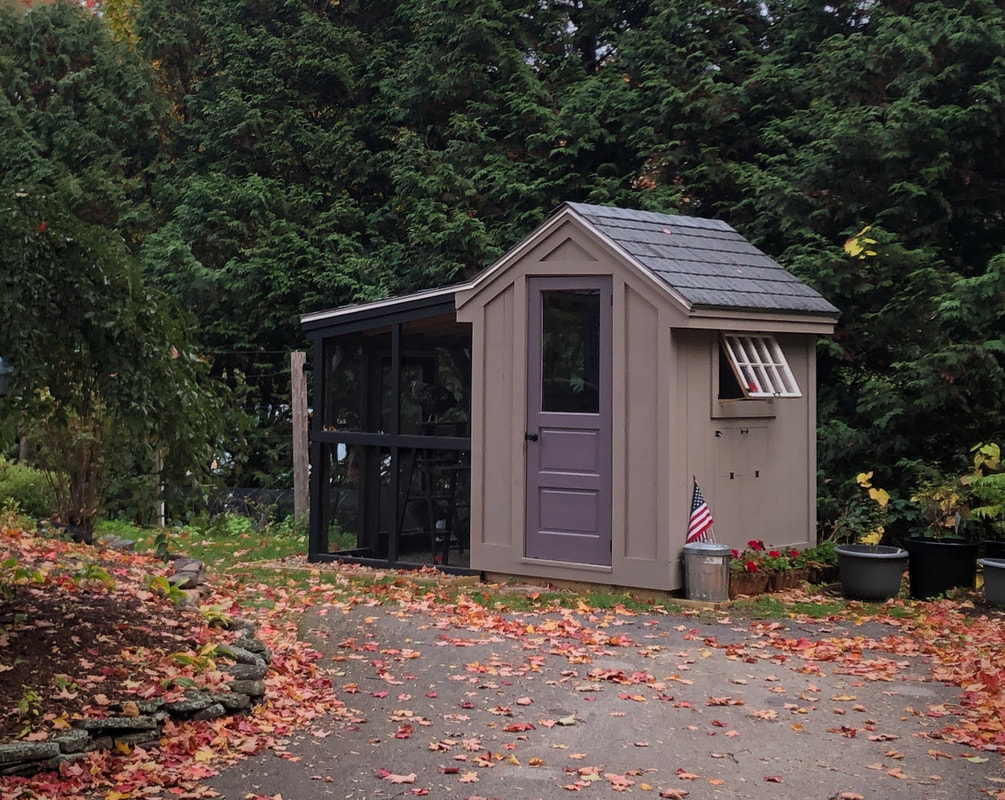
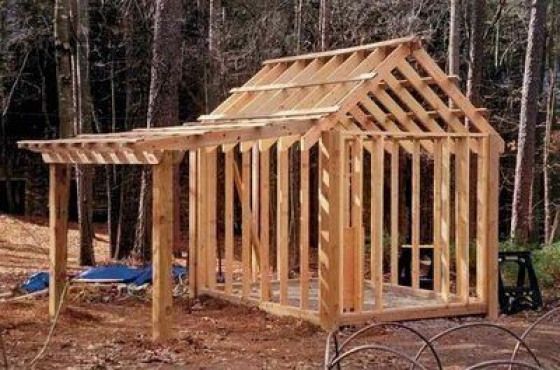
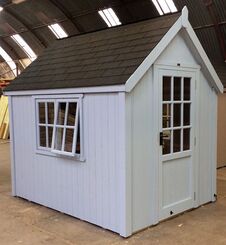
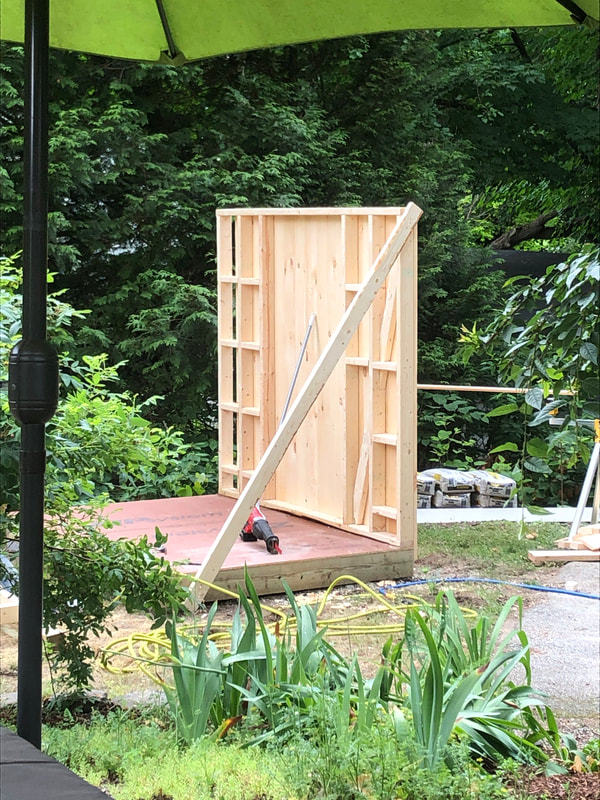
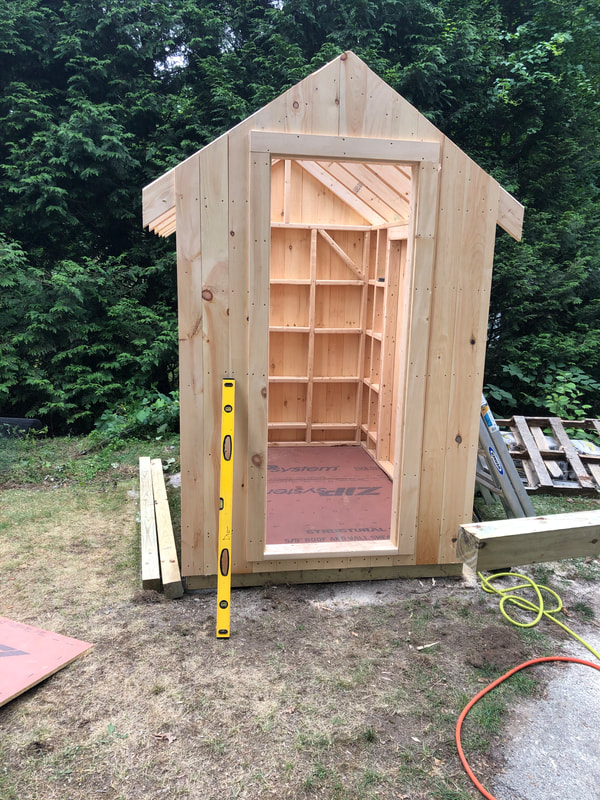
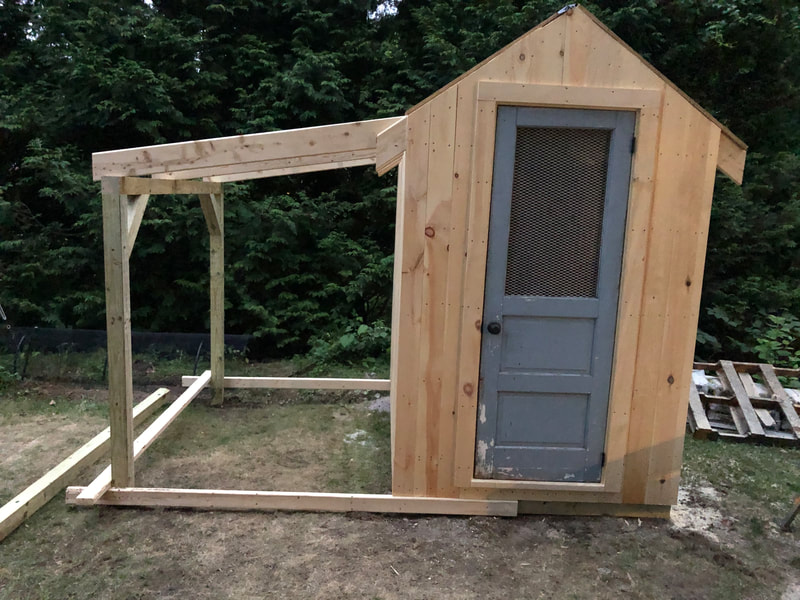
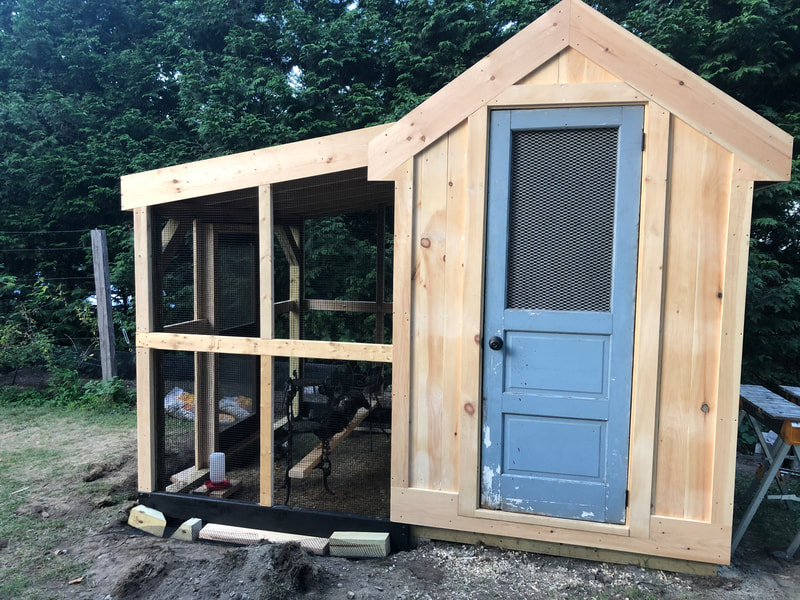
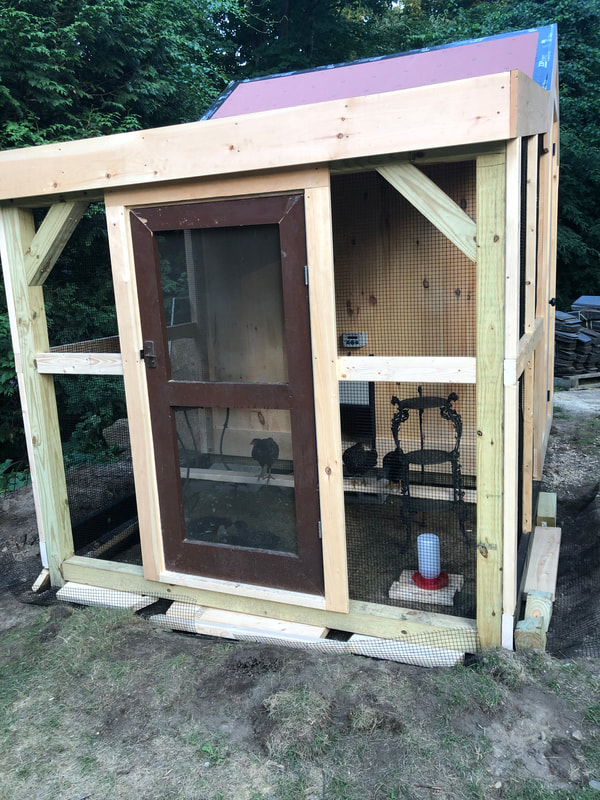
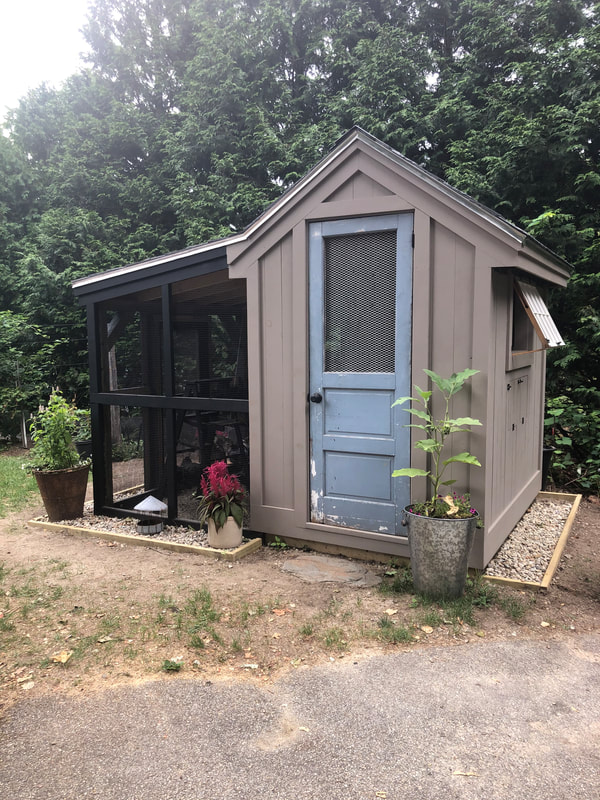
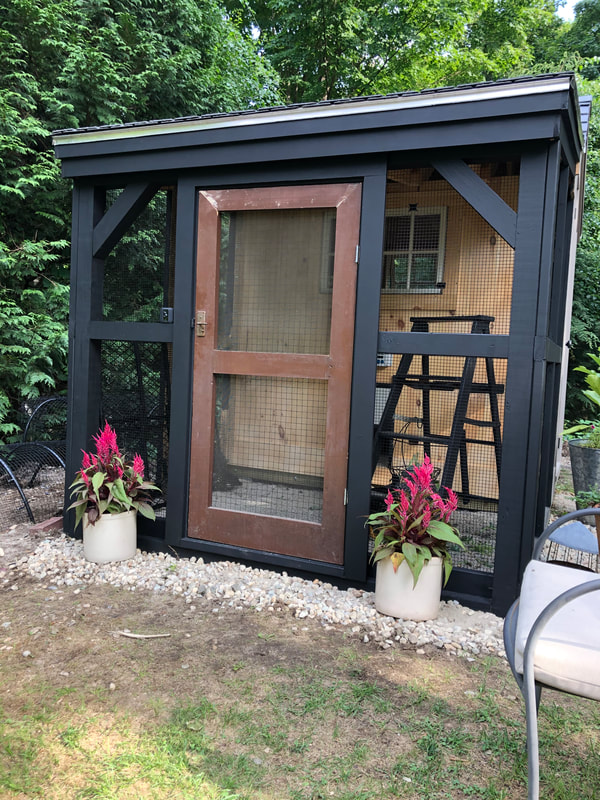
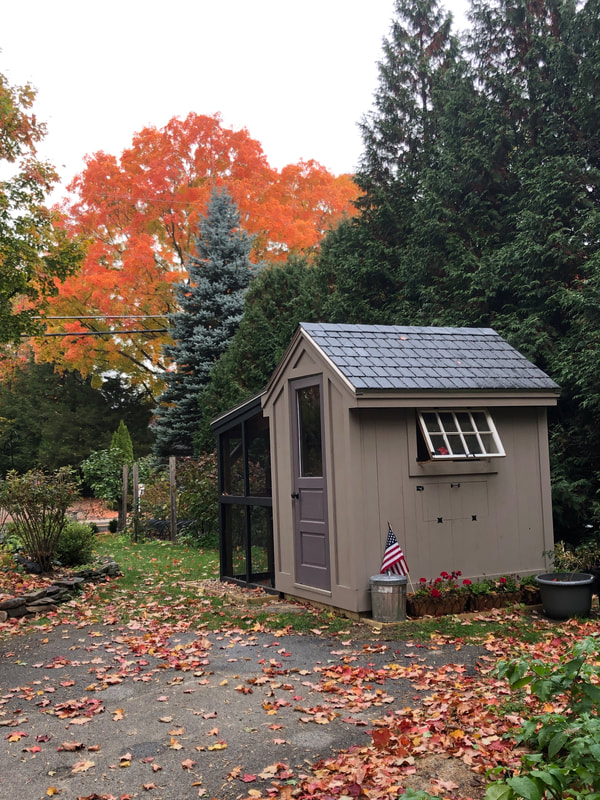
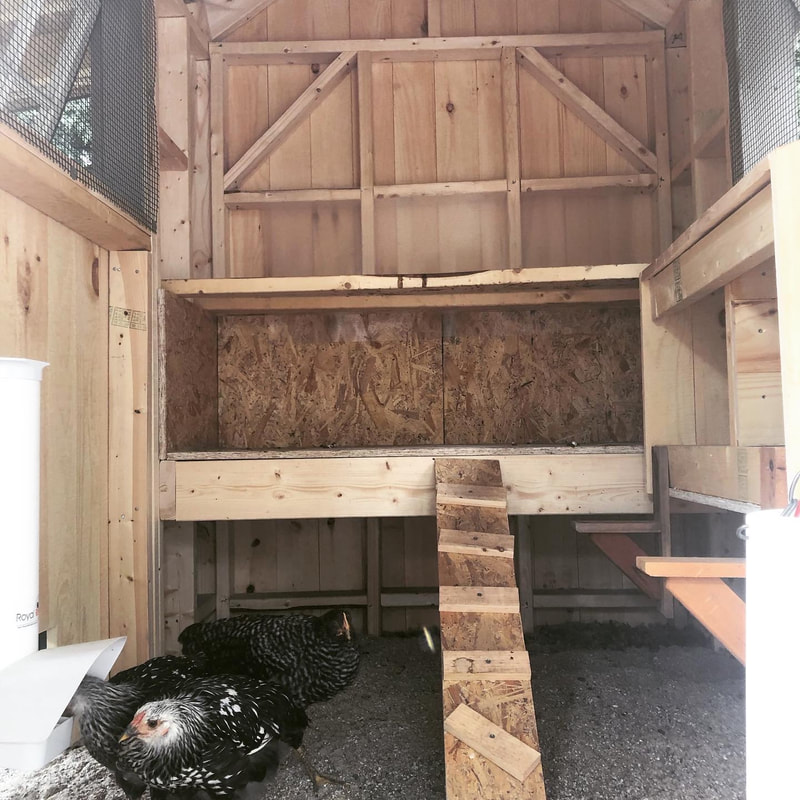
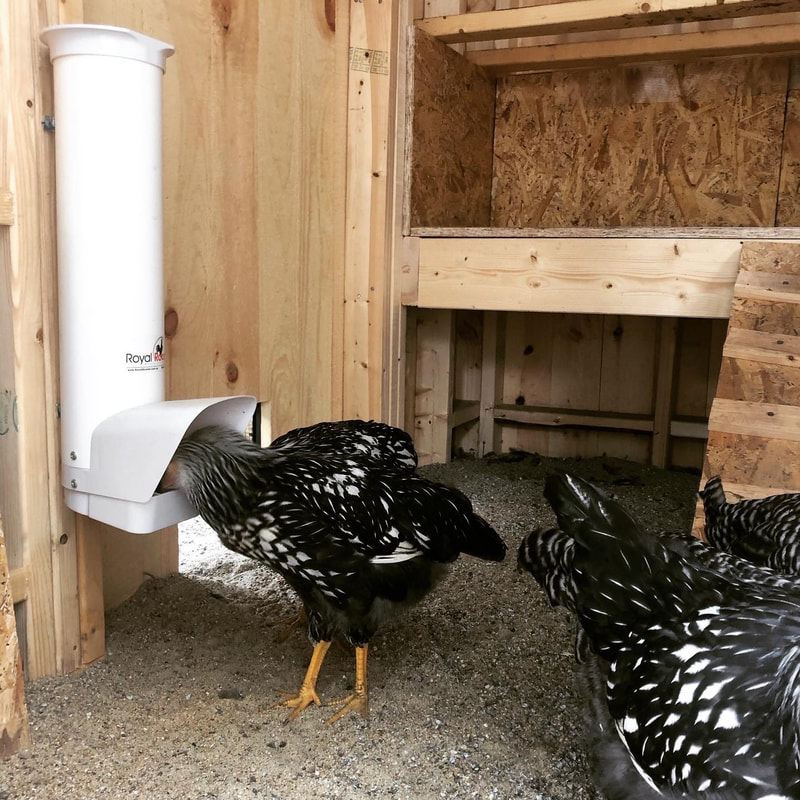
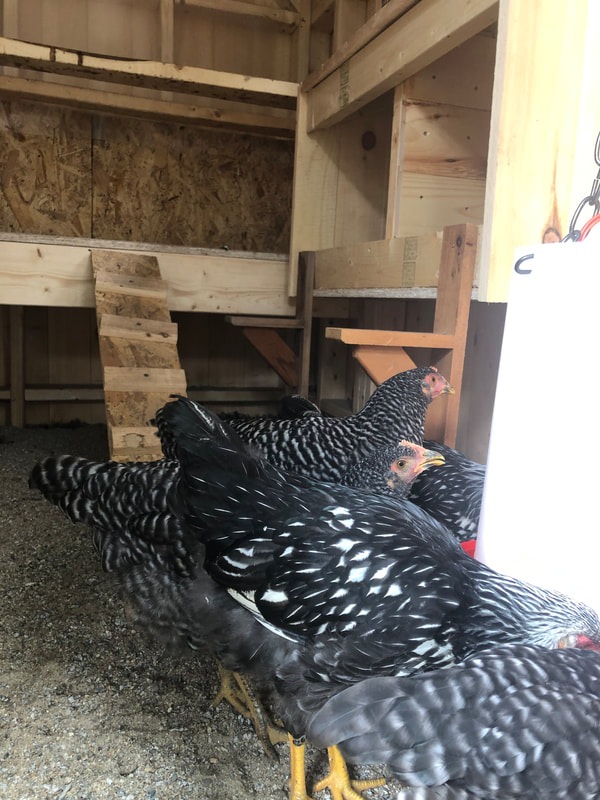
Our 5x7 coop was designed with a matching attached run. The coop is on the small side for 8 chickens, but we wanted to keep a small footprint so it would not overwhelm our 1/3 acre lot.
Our challenge has been to create a safe space for our chickens to run in a limited space. We live near an orchard in the center of town. Traffic and winged predators are a problem. For these reasons, we have decided not to free range.
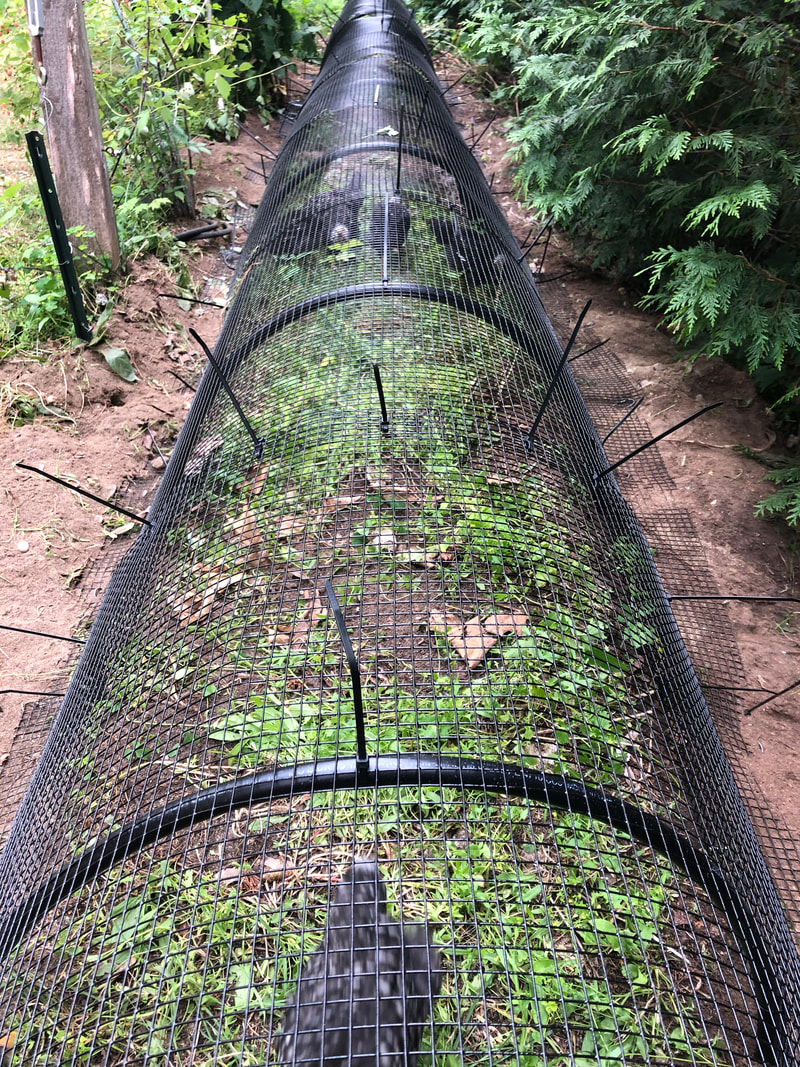
The coop sits near the edge of our property in view of our patio area. It backs up to a beautiful row of very tall evergreens and next to a 50’ row of blackberries. Behind the blackberries is a narrow space that is about 3’ wide. This hidden space is the perfect spot for the “chunnel” to connect to the coop run. I found black pvc coated hardware cloth to use on the run and for the chunnel. The black coating makes the wire invisible and the whole chunnel disappears into the landscape. The chickens have plenty of space to hang out and to run through the chunnel. They love it and so do we. I may add another chunnel off the other side of the coop in the future. Below are my notes from the project.
| | |
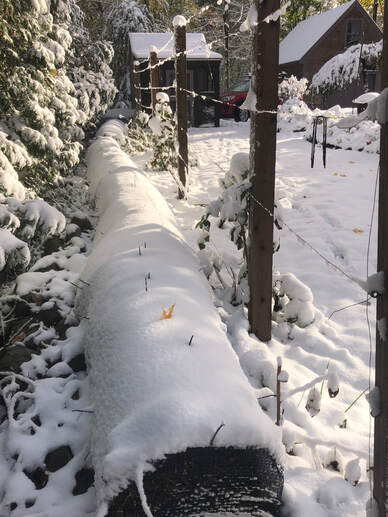
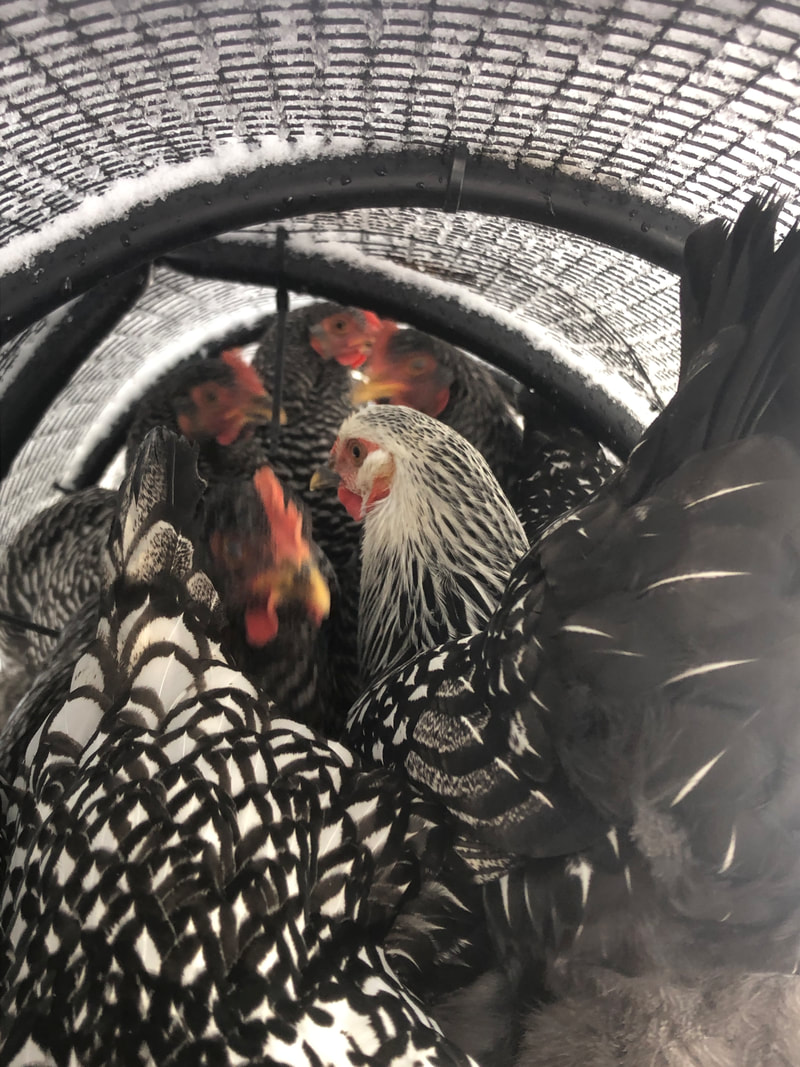
The chunnel under the snow. We will be covering the chunnel with a clear tarp for the winter. This late October snow caught us by surprise. Before the snow melted the chickens enjoyed the snow cover.
Construction
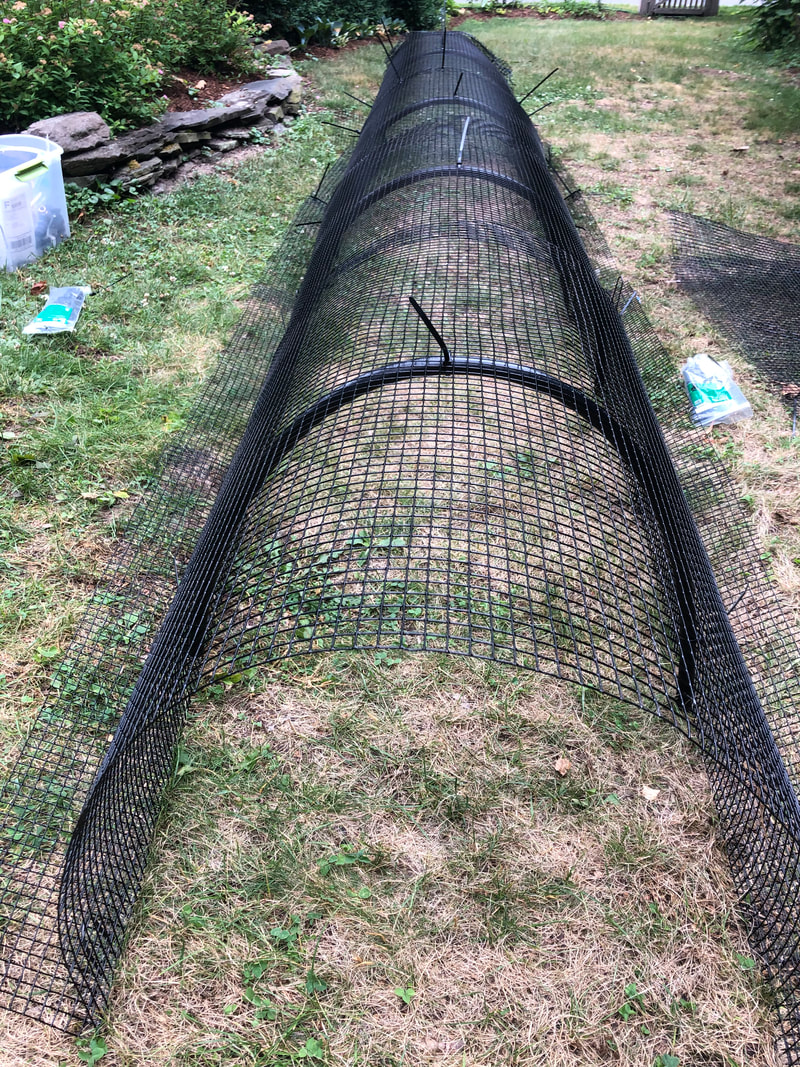
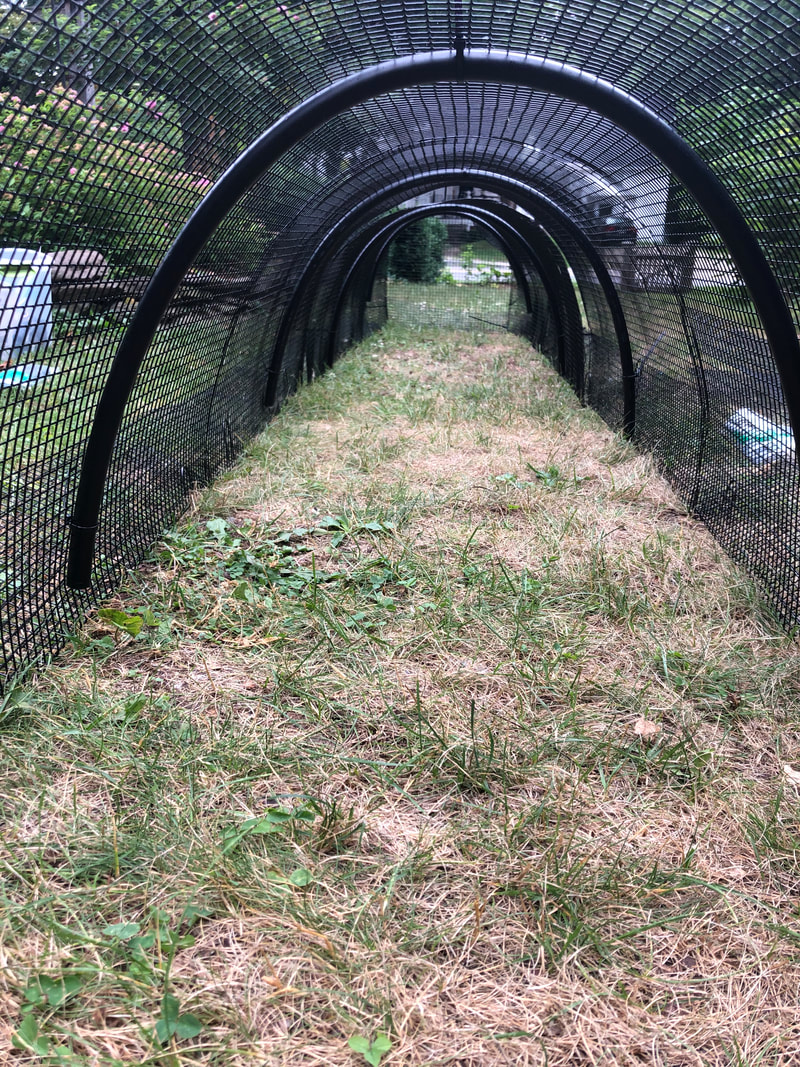
Total 50' long x 18" high
Section-3' long x 18" high
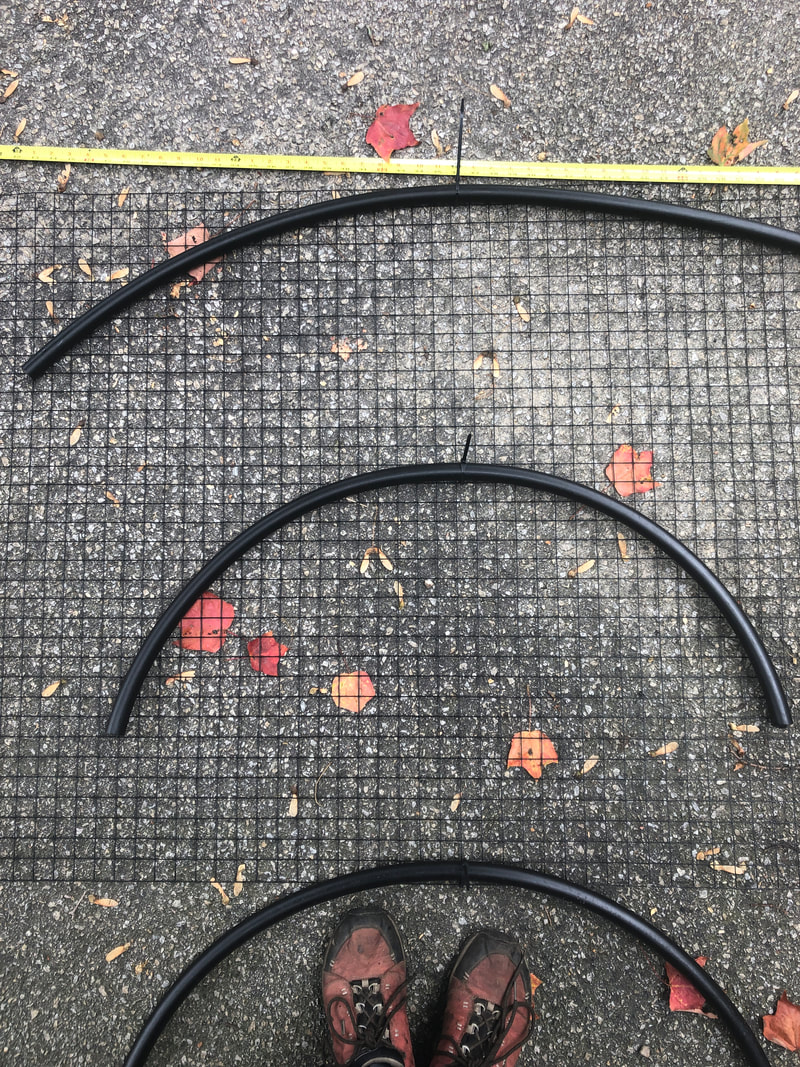
3’ sections w/ tubing for support and 12” flange on each side for predator proofing.
Section-3' long x 18" high
3’ sections w/ tubing for support and 12” flange on each side for predator proofing.
- Cut the 3' tall hardware cloth 72” long for each Chunnel section
- Fold the 3' sides up 12” to create predator proof flanges on each side.
- Cut three 52” lengths of tubing for each section-this will provide one each end and in the middle of each section.
- Zip tie the tubing to the section; one at each end and one in the center.
- Zip tie each section together.
- We dug down into the soil and staked the Chunnel down with 6” landscape pins. We covered the flange with stone and soil.
- Create an end cap using wire and zip ties to close it off.
Supplies
- Black coated 1/2 Inch Square Grid- 3 x 100’ hardware cloth. This is the product I used: https://www.deerfencing.com/critterfence-black-steel-grid-3-x-100?itemID=301
- Black zip ties-8 inch-buy the biggest bag you can!
- 1/2” black IPS (sprinkler system tubing from Home Depot)-I used about 40’ -buy a tube cutter if you can
- Electric grinder-to cut hardware cloth
Inspiration
My inspiration for this project: https://www.backyardchickens.com/threads/build-a-chunnel.915854/. The author did a great job of describing her method. Check it out. I made adaptations to suit my needs.

 RSS Feed