Providing a safe area for our chickens to run has always been our goal. We live on a small lot in the center of town and there are plenty of hawks, racoons, and foxes in the area. Free ranging is not an option for us. Below are photos of the second faze of the "chunnel" I created. Read other posts to see more photos.
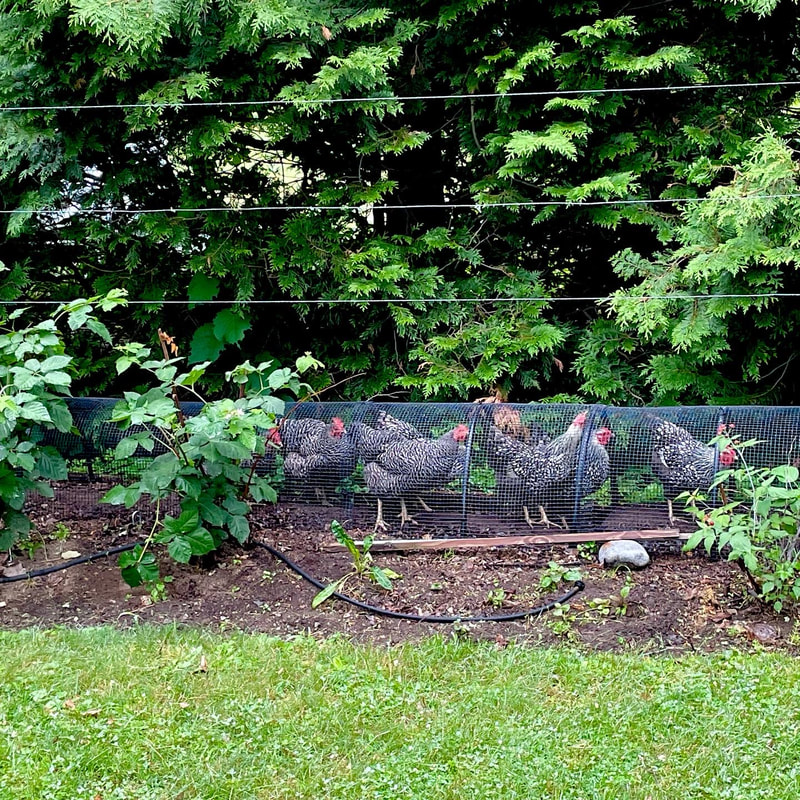
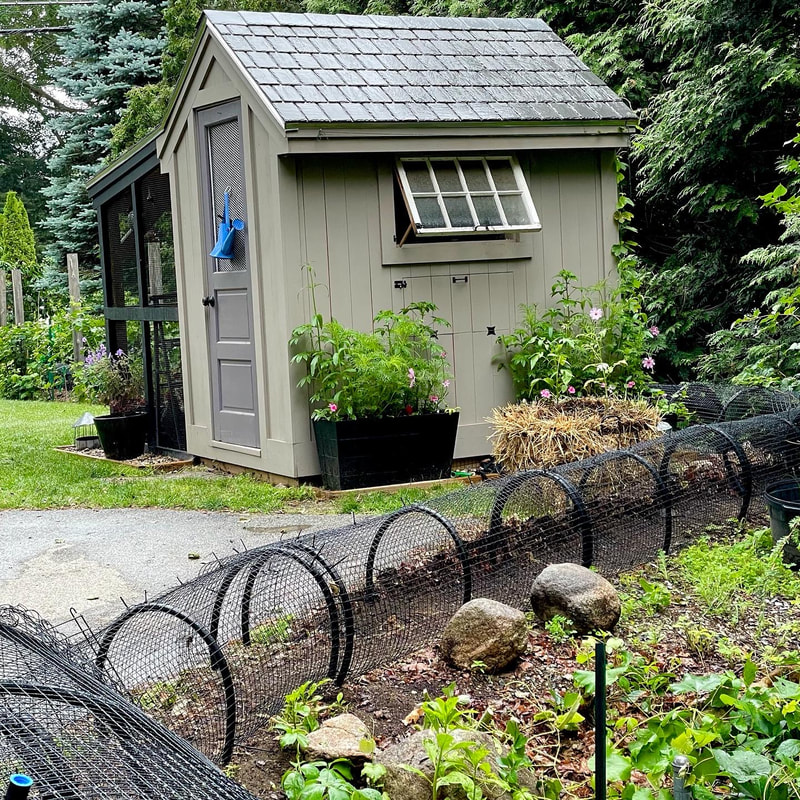
Phase 1: To the left of the coop is 50' of chunnel. I built it in 3 foot sections. The design is different in some sections as I adapted it to try out a few ideas. The first sections open bottom with 18 inch flanges that are burried in the ground with stones on top. Then I tried sections that are completely enclosed with a flat bottom. The open bottom allows the chickens to peck, dig and make dust baths. The enclosed bottom is good for areas that I can't dig down in. Post w/details
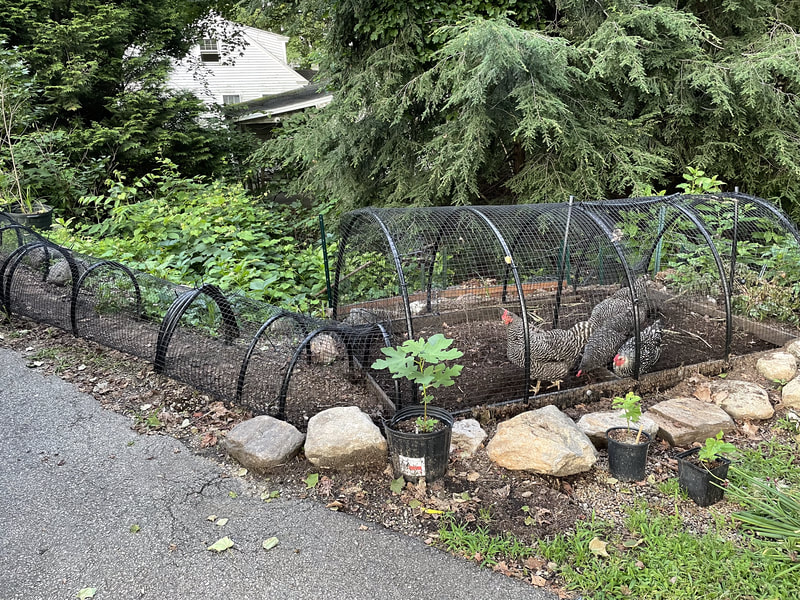
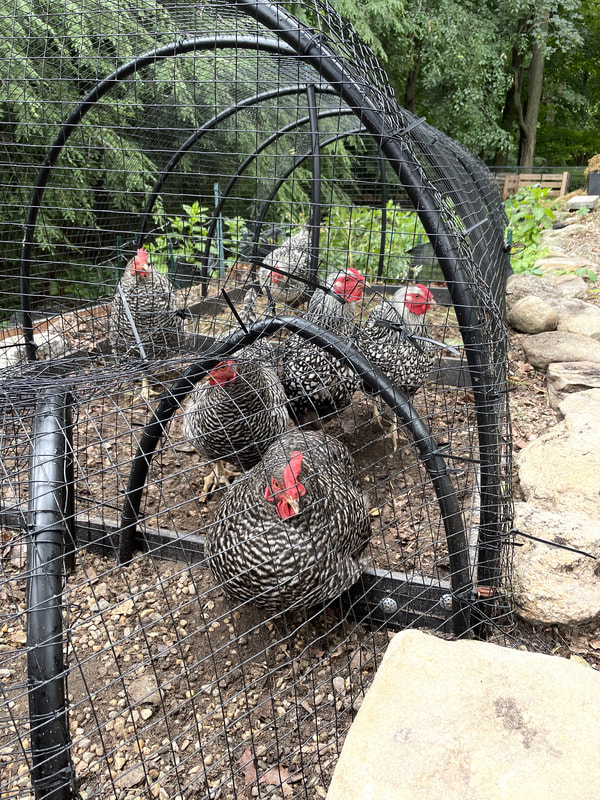
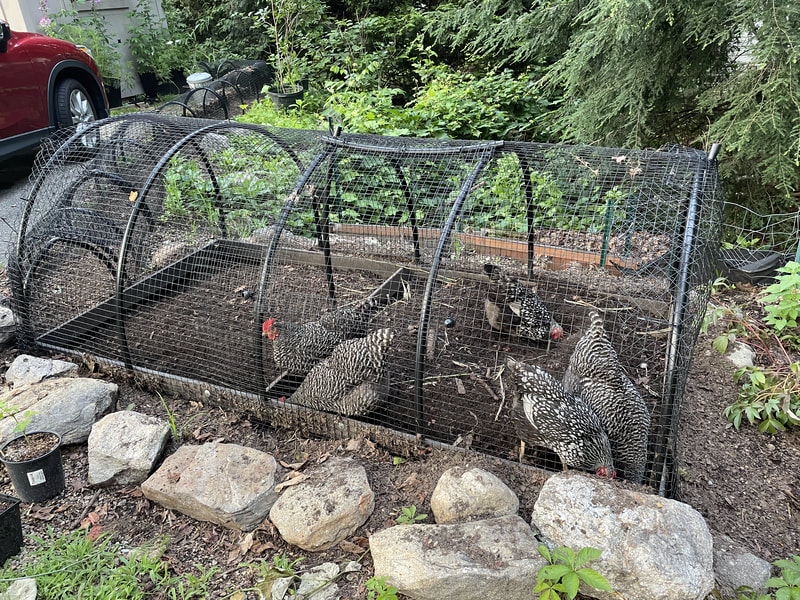
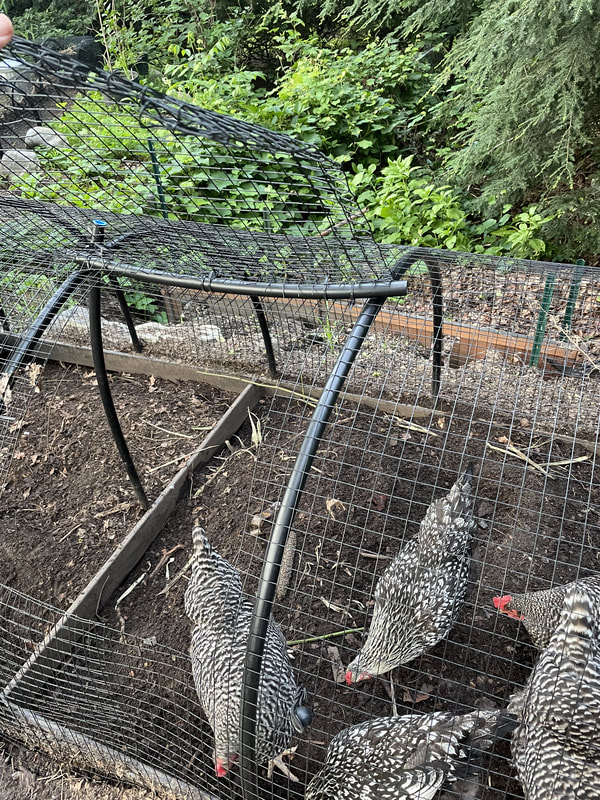
Phase 2: The second faze of the project leads out the right side of the coop. The 30 ft of run has the enclosed bottom. It is located on a hard packed surface that isn't good for digging into. This chunnel goes out to a 4X8 enclosure with an open bottom. I made a hatch at the top so I can open and drop leaves and compost into. The bottom is open and allows for lots of digging around.
Winter/Snow: We've had one winter with the left side and all went well. The sprinkler tubing is pretty stable and the 3 foot sections held the snow without colapsing. If you are concerned, add another arch or two to suppor the snow. I did cover 20ft of the run but wont bother doing that next year. My chickens did not mind walking in the snow. I did sprinkle shavings over the snow if it was really cold. The really liked that and would then walk out there no problem. The shavings add to the compost that the chickens make throughout the season.
Cleaning: Later I added hatches to allow me to add in compost or other treats for them to enjoy. I have never needed to clean out the chunnel. I just add in leaves and the chickens kick and peck them to clean up the runs.

 RSS Feed